Why Starting Your First Editing Project is Hard
Learn how to create your first video editing project with a complete step by step guide. From planning, importing clips, trimming, adding audio, to exporting your final video beginner friendly tips, practical examples, and common mistakes included. Perfect for aspiring video editors!

Key Points Regarding Creating Your First Project Using Editing Software
Step by step guide to creating your first editing project
Common mistakes beginners make and how to avoid them
Tools, software, and materials I personally used
Tips for smooth workflow and professional looking results
Troubleshooting advice for common issues
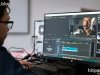
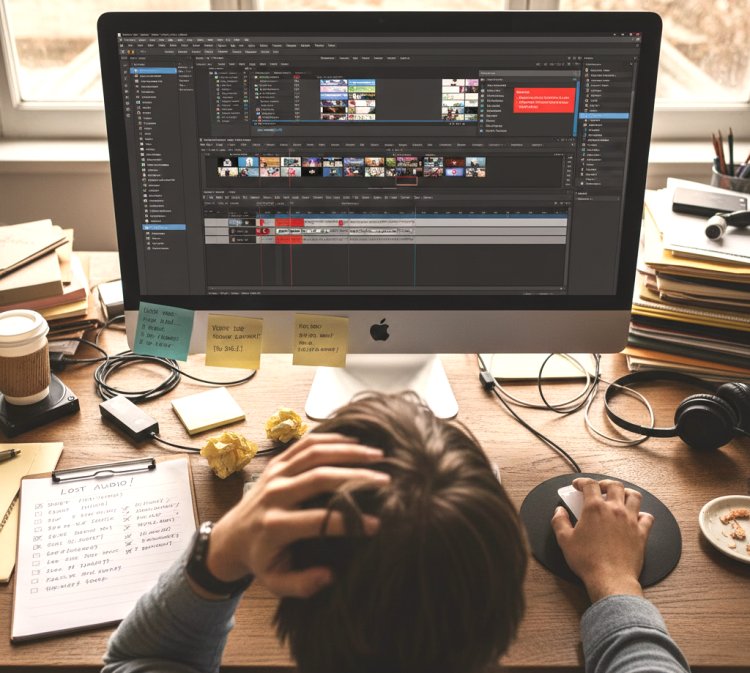
Why Starting Your First Editing Project is Hard
When I first opened video editing software, I was overwhelmed. I had a ton of raw clips, audio files, and a vague idea of what I wanted. But I didn’t know where to start, how to organize everything, or which features were essential for a beginner. I kept making small mistakes losing files, misplacing edits, or exporting in the wrong format.
After several failed attempts, I finally figured out a workflow that works reliably every time. Today, I want to share my experience so beginners like you can create your first project confidently, without the frustration I went through.
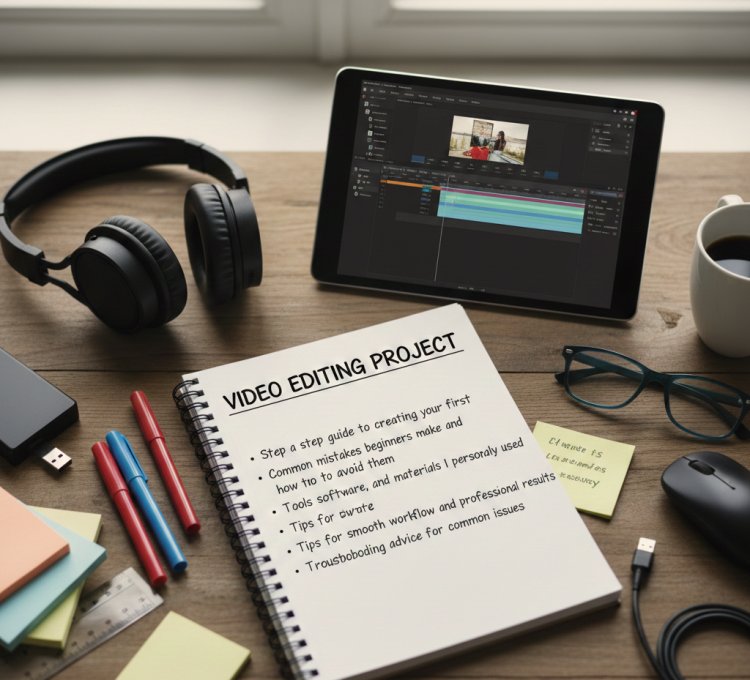
Materials I Used
Before starting any editing project, it’s important to have the right tools. Here’s what I personally used:
Software: HitPaw Video Editor (beginner friendly, reliable, and fast)
Computer Specs: 16GB RAM, Intel i7, SSD storage for faster rendering
Video Clips: Recorded with a DSLR and smartphone for variety
Audio Files: Background music and narration tracks
External Storage: 1TB external SSD to keep raw files organized
Other Tools: Mouse with extra buttons for shortcuts, notebook for planning
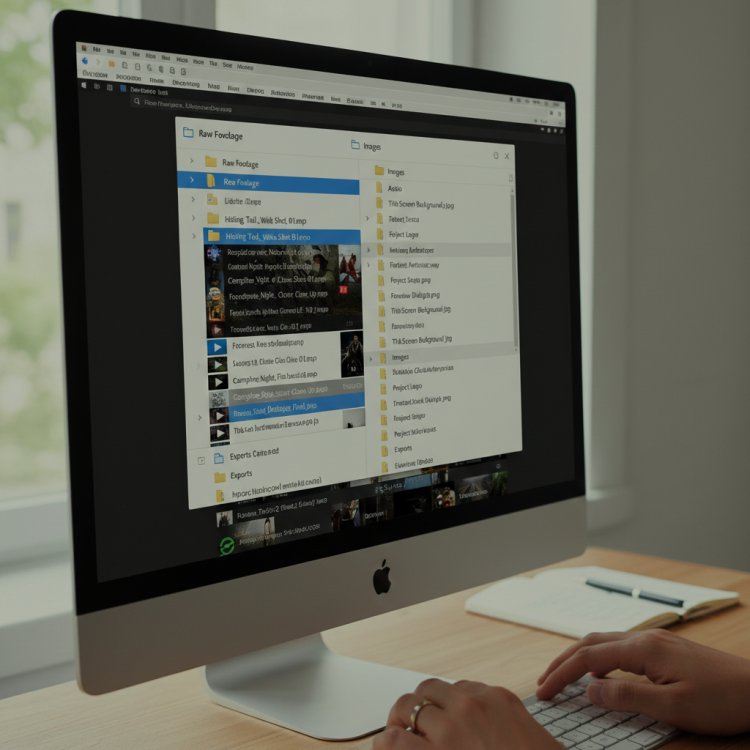
Pro Tip: I always name my clips clearly and create folders for “Raw Footage,” “Audio,” “Images,” and “Exports.” It saves hours later.
Step by Step Guide to Creating Your First Project
1. Planning Your Project
· The first step I always take is planning. Before touching any software, I write a simple storyboard:
What’s the purpose of the video?
What clips will I use?
How long should each scene last?
Which audio tracks will accompany each clip?
This planning saved me countless hours. Once, I started editing without planning and ended up deleting most of my work because the sequence didn’t make sense.
2. Setting Up a New Project
· I open HitPaw Video Editor and choose “New Project.” Here’s my workflow:
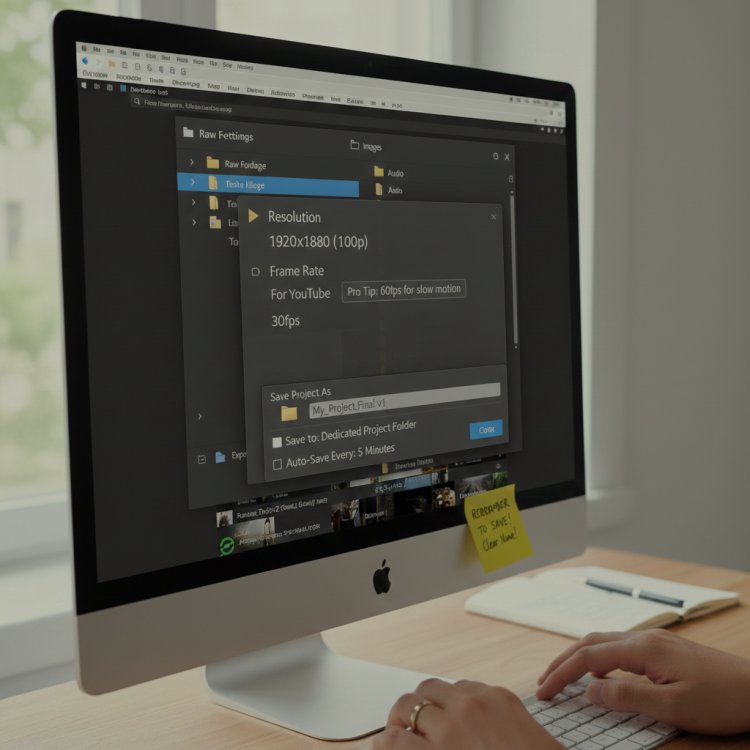
Set the project resolution (1080p for YouTube, 720p for social media).
Choose the frame rate (usually 30fps, unless recording slow motion).
Save the project in a dedicated folder to avoid losing files.
Pro Tip: Always save your project with a clear name.
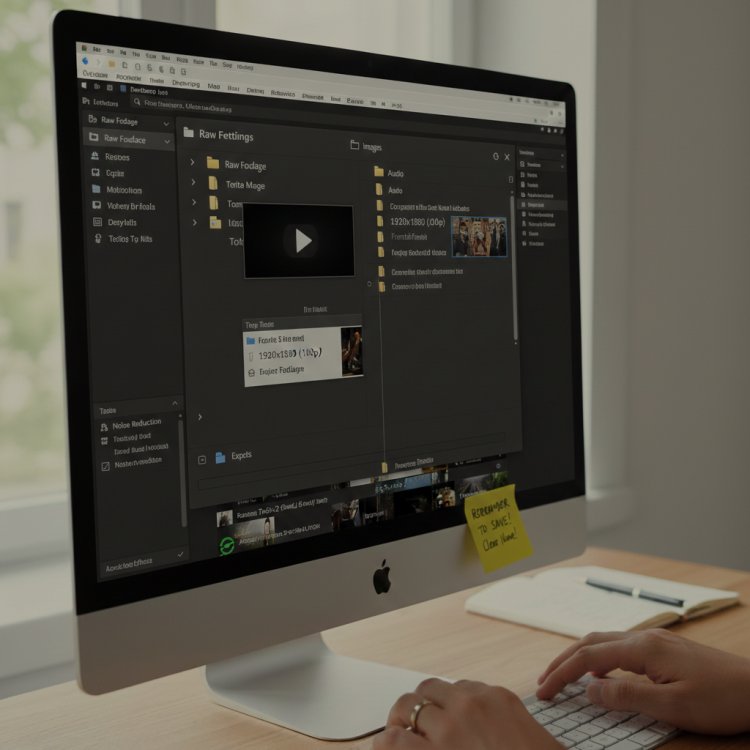
3. Importing Your Files
I then import all video, audio, and image files. HitPaw allows drag and drop, which is very convenient.
I review each clip and mark the best sections using the software’s “Trim” tool.
I check audio quality and remove background noise early on.
· Lesson I Learned: The first time I skipped audio cleaning, and the narration had a lot of hiss. Fixing it later took hours. Always clean audio first.

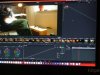
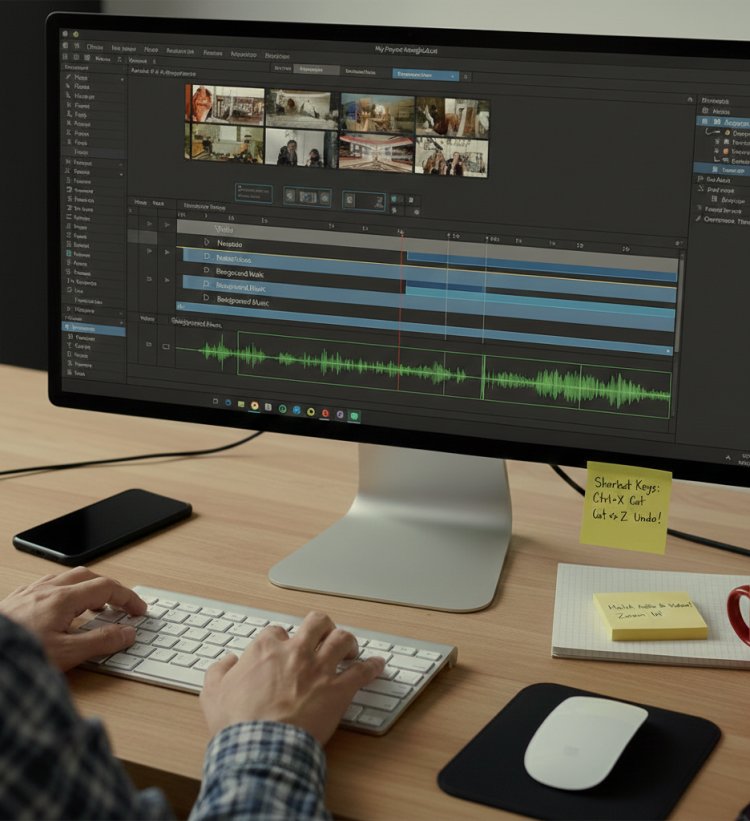
5. Basic Editing & Trimming
· I trim clips to remove mistakes, long pauses, or irrelevant sections.
Shortcut keys save time: Ctrl+X for cut, Ctrl+Z for undo
I adjust clip length to match narration or music beats
I ensure all clips are aligned and consistent in style
· Mistake I Made the First Time: I didn’t match audio and video properly. The narration was ahead of the video, and it looked unprofessional. I learned to zoom in on the timeline for precise edits.
6. Adding Effects, Text, and Transitions
· Once the rough cut is done, I add finishing touches:
Text/Captions: I add titles, captions, and annotations using simple fonts.
Transitions: I stick to basic fades and cuts to maintain a professional look.
Color Correction: Adjust brightness and contrast slightly to make clips consistent.
Pro Tip: Less is more. Overusing effects can make your first project look messy.

7. Adding Music and Sound Effects
· I select royalty free music and align it with the video timeline.
Use low volume for background music so narration is clear
Add sound effects only where they enhance the story
Test playback multiple times to ensure audio levels are balanced
· Mistake I Made the First Time: I set music too loud, which drowned out narration. I now always normalize audio levels before export.
8. Previewing Your Project
· Before exporting, I watch the entire project multiple times:
Check for abrupt cuts or missing sections
Ensure transitions are smooth
Confirm audio and video sync properly
· Pro Tip: Watching it on a different device helps spot issues that are not visible on your main monitor.
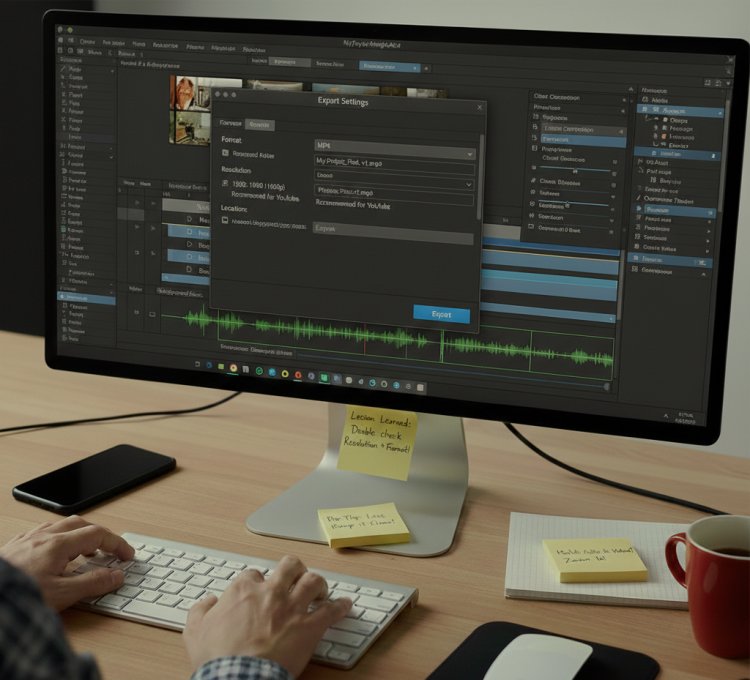
9. Exporting Your First Project
· Finally, I export the video:
Choose the correct format (MP4 for most platforms)
Use recommended resolution (1080p for YouTube)
Name the file clearly and save in a dedicated “Exports” folder
· Lesson I Learned: The first time I exported, I used the wrong settings and had to re render. Always double check resolution and format before exporting.
Final Advice
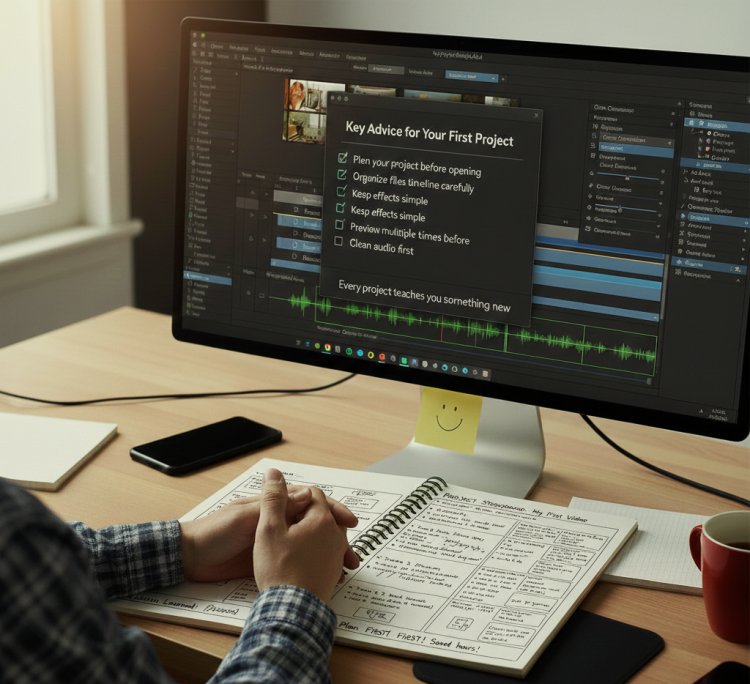
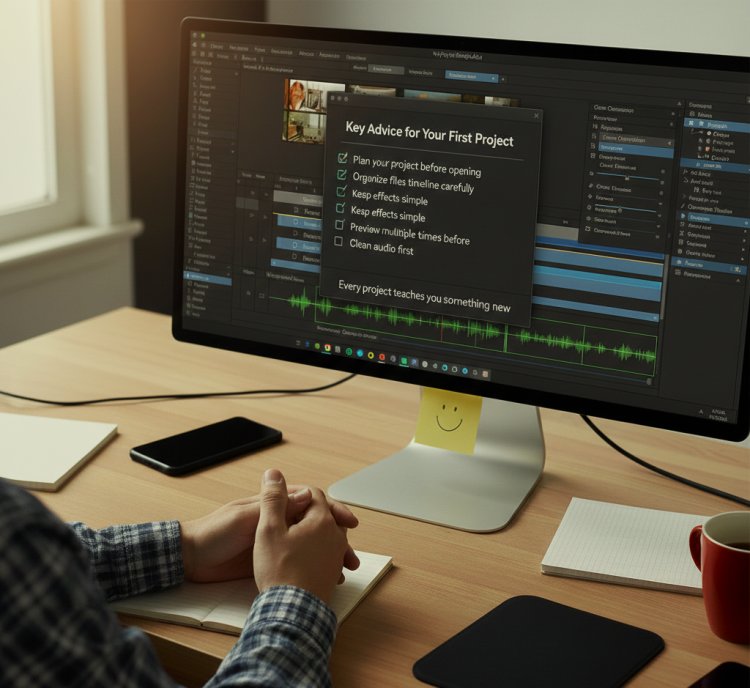
Creating your first project may feel overwhelming, but following a structured workflow makes it much easier. My key advice:
Plan your project before opening the software
Organize files and timeline carefully
Keep effects simple
Clean audio first
Preview multiple times before exporting
With experience, your workflow will become faster, and your projects will look professional. Remember, mistakes are part of the learning process, and every project teaches you something new.
FAQs
1. Do I need expensive software for my first project?
No, beginner friendly software like HitPaw Video Editor is sufficient. It has all essential features and is easy to learn.
2. How long does it take to finish a first project?
It depends on your clips and planning. For a 5minute video, I usually spend 3–5 hours.
3. Can I use my phone clips?
Yes! Modern smartphones produce good quality footage suitable for beginner projects.
4. How do I fix audio problems?
Always use noise reduction tools before adding background music. Adjust volume levels carefully.
5. How should I export for YouTube?
Use MP4 format, 1080p resolution, and standard 30fps frame rate for best results.
6. What’s the most common mistake beginners make?
Jumping straight into editing without planning, which causes messy timelines and long redo sessions.
What's Your Reaction?