Why My Videos Looked Bad After Upload Even When They Looked Perfect on My PC
I share my real YouTube export workflow, tools, mistakes, and step by step tips to upload high quality videos that stay sharp after compression.
Main Highlights Regarding Best Export Settings for High Quality Videos
Why my YouTube videos looked sharp locally but blurry after upload
The exact export settings I personally use
Stepby step export workflow that consistently worked
Real mistakes I made with bitrate, resolution, and presets
Practical fixes that improved clarity after YouTube compression
A simple checklist I follow before every upload
Why My Videos Looked Bad After Upload Even When They Looked Perfect on My PC
I still remember the frustration clearly. I exported a video that looked clean, sharp, and professional on my computer. The colors were right, the text was crisp, and the footage looked smooth. I uploaded it to YouTube feeling confident.
Then I watched it after processing.
The video looked softer. Text didn’t feel as sharp. Fine details were gone. At first, I blamed YouTube. Then I blamed my camera. Eventually, I realized the real problem was my export settings.
I was exporting videos without understanding how YouTube compresses them. Once I stopped guessing and started exporting with intention, the quality difference was noticeable not just to me, but to viewers as well.
This guide is based on actual YouTube videos I uploaded, tested, failed, fixed, and uploaded again. No theory, no copied charts only what worked in real situations.
The Project That Forced Me to Fix My Export Settings
The project that forced me to learn export settings properly was a tutorial video with lots of on screen text. The text looked sharp inside my editing software, but once uploaded to YouTube, it felt slightly blurry especially on mobile.
Viewers didn’t complain directly, but I noticed:
Lower watch time
Comments asking to “zoom text”
My own dissatisfaction watching the final result
That’s when I decided to treat exporting as a technical step, not a final button click.
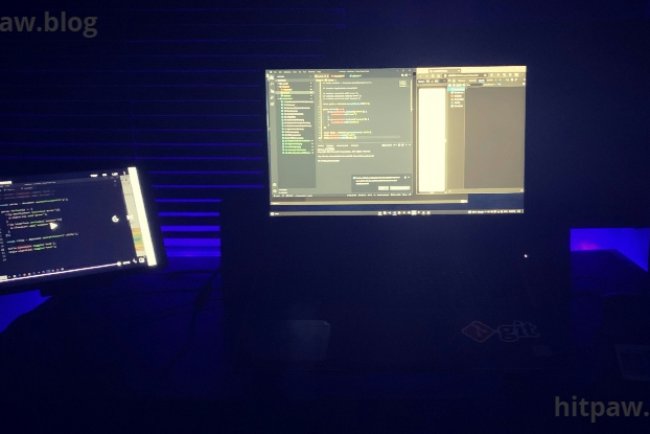
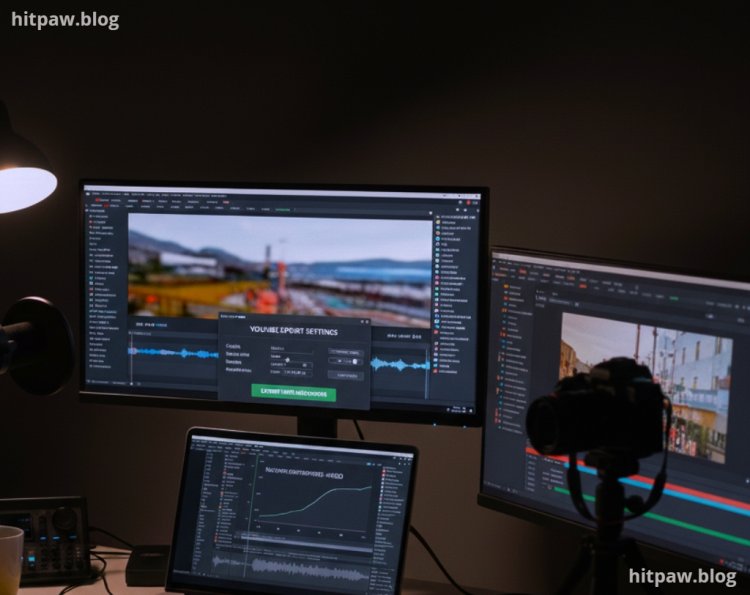
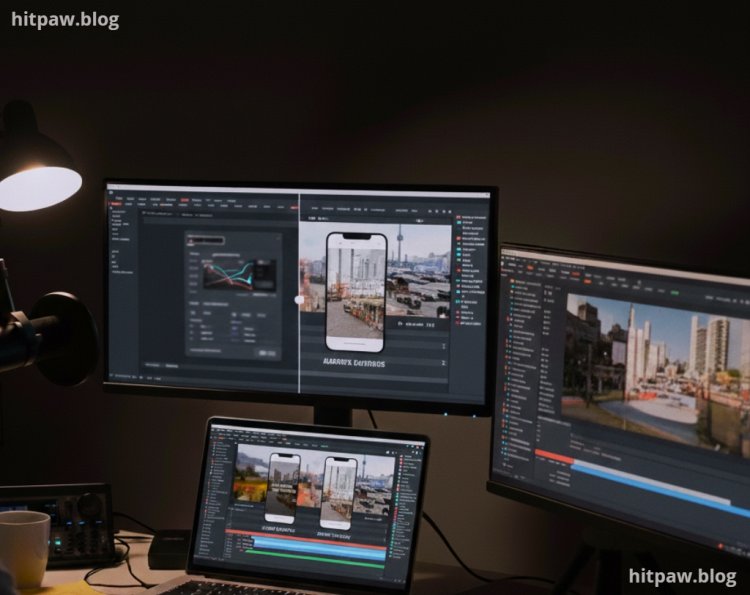
Tools I Personally Used
I’ll only list tools I actually used for exporting YouTube videos.
Editing & Export Tools
Adobe Premiere Pro primary editor and exporter
Adobe Media Encoder for controlled exports
YouTube Studio for checking processing results
Video Types I Exported
Talking head tutorials
Screen recordings
Educational videos with text overlays
No cinematic cameras. No studio gear.
Practical Reality Check About YouTube Quality
Here’s something I learned quickly:
YouTube will always compress your video.
Your job is not to stop compression it’s to give YouTube a high quality file so the final compressed version still looks good.
Once I accepted this, my approach changed.
Step by Step Guide: My Exact Export Workflow for YouTube
Step 1: Matching Export Settings to the Timeline
This sounds basic, but I used to ignore it.
Now I always:
Match resolution to timeline
Match frame rate exactly
Avoid scaling during export
Mismatch here caused unnecessary quality loss.
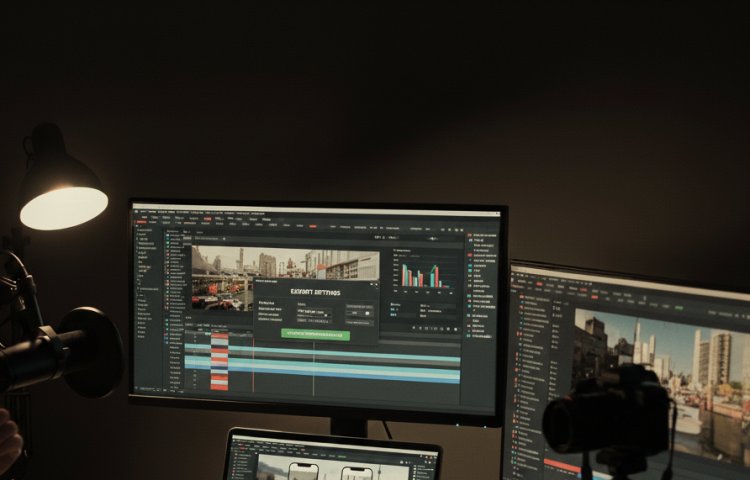
Step 2: Choosing the Right Format and Codec
What I Got Wrong the First Time
I experimented too much with formats.
Result:
Compatibility issues
Longer processing
No quality benefit
What I Do Now
· I export using:
Format: MP4
Codec: H.264
This combination has worked consistently across all my uploads.
Step 3: Why I Stopped Downscaling
Earlier, I exported at lower resolutions to “save size.”
Bad idea.
Now:
1080p videos stay 1080p
4K timelines export at 4K (when possible)
Higher resolution helps YouTube apply better compression, especially for text and details.
Step 4: Bitrate Settings (This Changed Everything)
This was my biggest mistake area.
What I Did Wrong
Used default low bitrate
Thought “smaller file = better”
Result:
Blocky footage
Soft text
Lost details
What I Do Now
I use higher bitrate than YouTube recommends, not lower.
Here’s a real world table I reference during export:
Step 5: Using VBR Instead of CBR
I used to export with constant bitrate.
Now I use:
VBR (2pass when time allows).
This gives better quality in complex scenes without unnecessary file size.
Step 6: Exporting Audio Properly (Often Ignored)
I ignored audio settings early on.
Now I:
Export audio at high quality
Avoid low bitrate audio
Keep audio clean and consistent
Good audio makes the video feel higher quality overall.
Before and After Export Fixes
Before fixing export settings:
Text looked slightly blurry
Fine lines lost clarity
Screen recordings suffered most
After fixing export settings:
Text stayed sharp
Screen recordings looked cleaner
Videos held up better on mobile
One viewer commented:
“Your videos look much clearer now.”
That’s when I knew the export changes worked.
What I Got Wrong the First Time (Real Lessons)
Mistake #1: Trusting Default Presets
Presets are starting points, not final solutions.
Mistake #2: Exporting Too Small
YouTube compression punished low quality inputs.
Mistake #3: Not Watching the Uploaded Version Fully
I only checked a few seconds, not the whole video.
Now I always review the processed version.
Real Feedback After Fixing Export Settings
After fixing my export workflow.
I noticed:
Better clarity on mobile
Less pixelation
Improved viewer trust
Fewer self doubts about quality
Exporting correctly doesn’t just improve visuals it improves confidence.
Tip From My Experience
If your video contains text, charts, or screen recordings, always export at the highest reasonable quality. YouTube compression is harsh on fine details.
Conclusion
Exporting for YouTube isn’t about clicking the “YouTube preset” and hoping for the best.
Once I understood how YouTube processes videos and adjusted my export settings accordingly, my uploads stopped disappointing me. The difference wasn’t dramatic but it was consistent and noticeable.
If your videos look worse after upload:
Increase export quality
Match settings carefully
Stop relying on defaults
Always review the processed video
That’s how I finally fixed my YouTube quality issues.
Common Questions I Get About YouTube Export Settings
Q1: Does exporting at higher quality really help?
Yes. Better input results in better compressed output.
Q2: Should I export in 4K even if recorded in 1080p?
Only if the footage truly supports it. Don’t fake resolution.
Q3: Is YouTube’s export preset enough?
It’s a starting point, not the final answer.
Q4: Why does my text look blurry after upload?
Low bitrate or improper scaling is usually the cause.
Q5: How long should I wait before judging quality?
Wait until YouTube finishes HD processing.
Q6: Should I re upload if quality looks bad?
Yes, after fixing export settings.
What's Your Reaction?