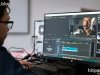
How I Learned How AI Video Enhancement Works
I explain how AI video enhancement works, sharing my real workflow, tools, mistakes, and step by step tips to make low quality videos look professional.
Key Points Regarding AI Video Enhancement
Why do my early attempts at enhancing videos look unnatural
The tools I used and why I picked them
How AI algorithms analyze and improve video quality
Practical examples from my own projects
Lessons learned from mistakes in video enhancement
Step by step guide to using AI video enhancement tools effectively
A practical checklist to maintain quality across videos
How I Learned How AI Video Enhancement Works
I remember trying to improve the quality of a low resolution tutorial I filmed for a client. I used basic filters and sharpening tools, but the result looked blurry and pixelated. It was frustrating hours of work for a result that barely improved the video.
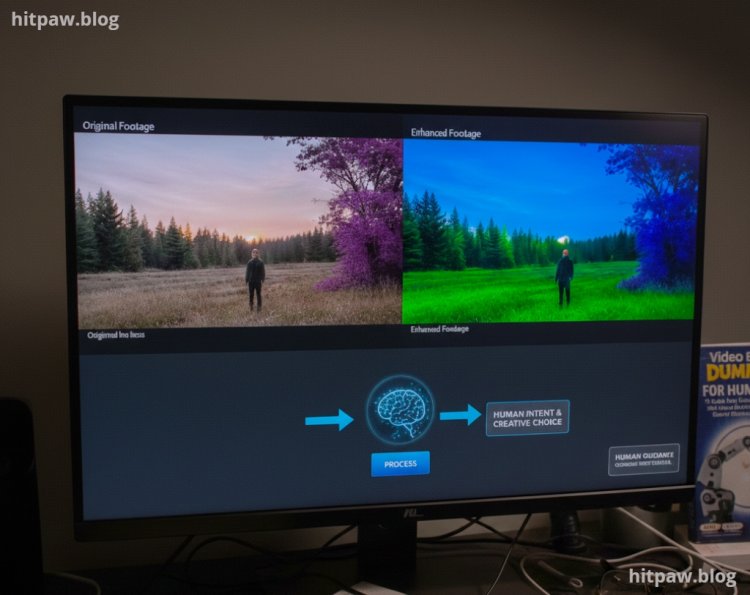
Then I discovered AI video enhancement tools. The idea that a program could automatically upscale, denoise, and sharpen footage sounded too good to be true. After experimenting, I realized that while AI can work wonders, it requires understanding the process, choosing the right tool, and fine tuning settings.
This experience taught me that AI video enhancement is powerful, but human guidance is crucial.
My First Real AI Video Enhancement Project
The project that opened my eyes was a client’s old 480p tutorial series. My goal: enhance the video to 1080p for YouTube.
My first attempt using a basic AI upscaler:
Upscaled the video to 1080p
Added noise reduction
Applied auto sharpen
The result looked slightly better but had over sharpened edges, unnatural textures, and occasional artifacts. I realized AI isn’t magic you need the right workflow.
Tools I Personally Used
Software Tools
Topaz Video AI main tool for upscaling and denoising
Adobe Premiere Pro for trimming and final editing
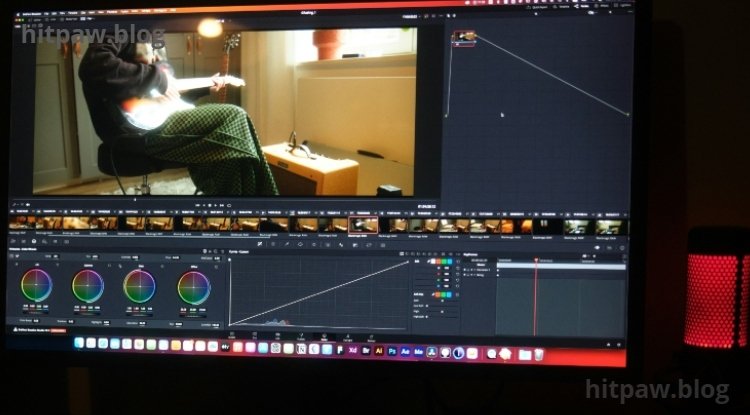
DaVinci Resolve optional for color grading after enhancement
HandBrake for compressing output without losing quality
Hardware
Laptop with Intel i7, 16GB RAM, GPU support (RTX 2060+)
External SSD for large video files
File Types I Worked With
Input: MP4, MOV, AVI
Output: MP4 (H.264/H.265)
Practical Reality Check About AI Video Enhancement
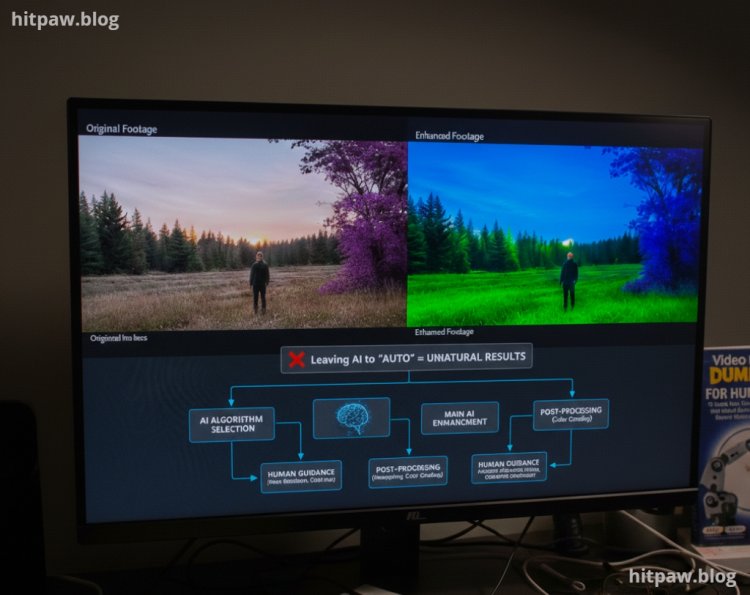
AI video enhancement isn’t a one click solution it’s about choosing the right algorithm, pre processing, and post processing.
I learned that leaving AI to “auto” everything often produces unnatural results. Human oversight is key.
How I Enhance Videos with AI
Step 1: Analyze the Source Video
Check resolution, frame rate, and quality
Identify noise, motion blur, or compression artifacts
Decide the target resolution (e.g., 1080p, 4K)
Lesson Learned: Skipping this step leads to AI overcompensating, creating artifacts.
Step 2: Choose the Correct AI Model
Topaz Video AI offers models like Gaia, Artemis, and Proteus
I experimented with each:
Gaia: Best for upscaling natural details
Artemis: Great for noisy or low light videos
Proteus: Offers manual fine tuning for motion and detail
Mistake I Made First Time: Used default model blindly > caused over sharpening
Fix: Selected model based on content type and noise level
Step 3: Pre Processing the Video
Crop unnecessary borders
Stabilize shaky footage
Reduce extreme noise before AI enhancement
This reduces artifacts during AI processing.
Step 4: Run AI Enhancement
Set target resolution
Adjust noise reduction and sharpness
Render using GPU acceleration (faster and less CPU stress)
Tip: Test a 10second clip before processing the full video
Step 5: Post Processing in Editing Software
Import enhanced video into Premiere Pro or DaVinci Resolve
Adjust color, contrast, and saturation
Check motion artifacts or unnatural textures
This step ensures AI output feels natural and visually consistent.
Real Life AI Enhancement I Did
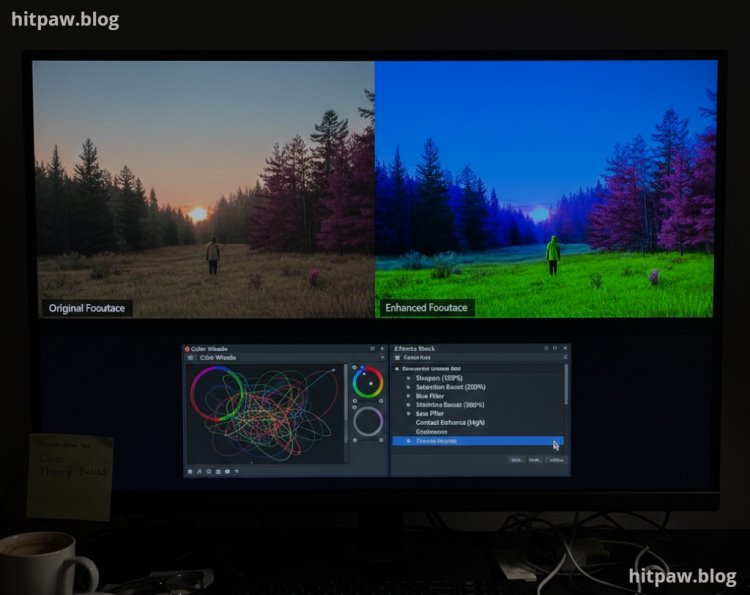
A client’s old 480p tutorial:
Original: pixelated and blurry
Step 1: Stabilized and cropped irrelevant edges
Step 2: Ran through Topaz Video AI (Artemis model for low light)
Step 3: Color graded in DaVinci Resolve
Step 4: Final export in MP4, 1080p
Result: clean, sharp, and professional looking video suitable for YouTube.
Real Feedback After Fixing Workflow
After improving my workflow:
Clients reported videos looked “like they were filmed yesterday”
Engagement improved for tutorial and demo videos
Fewer complaints about artifacts or unnatural textures
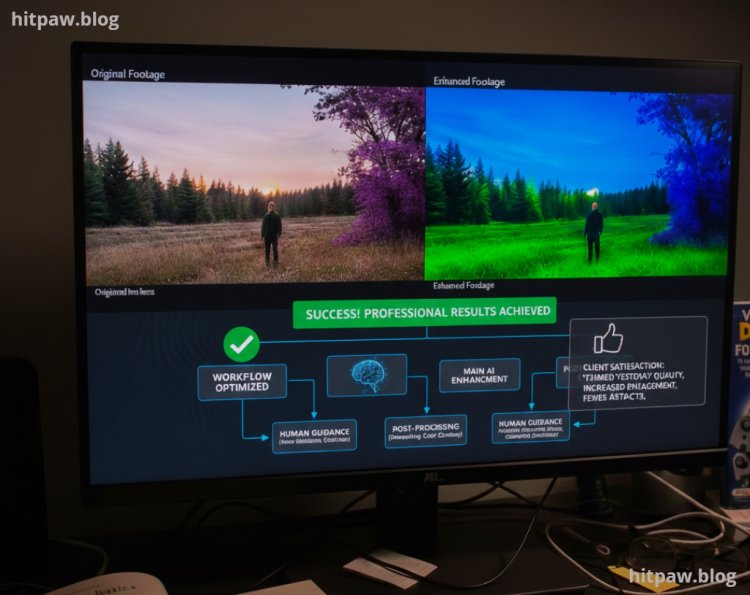
A client commented:
“I can’t believe this was the old footage it looks brand new!”
Tip From My Experience
Always keep original footage untouched. Run AI enhancement on copies. This preserves a backup if you need to re process with different settings.
Final Advice
AI video enhancement works, but understanding the tools, pre and post processing, and careful parameter selection is crucial.
Once I:
Analyzed my source
Selected the correct AI model
Pre processed the video
Applied AI enhancement
Post processed for color and motion artifacts
My videos consistently looked professional, natural, and ready for clients or social media.
Follow these steps, and AI will save hours of manual work while enhancing your videos effectively.
Common Questions About AI Video Enhancement
Q1: Can AI upscale videos from 480p to 1080p without quality loss?
It can significantly improve quality, but original resolution limits detail expect improvement, not magic.
Q2: Which AI model is best?
Depends on content: Gaia for natural scenes, Artemis for noisy footage, Proteus for manual fine tuning.
Q3: Does AI remove noise completely?
It can reduce noise effectively, but extreme grain may still need manual touch ups.
Q4: Can AI fix shaky footage?
Minor stabilization is possible, but heavy shake is better handled in editing software first.
Q5: What export settings should I use after AI enhancement?
MP4, H.264, high bitrate for YouTube or client delivery.
Q6: Is AI enhancement faster than manual editing?
Yes, but it requires hardware with GPU acceleration for large videos.
What's Your Reaction?