How I Learned to Turn Low Quality Video Footage Into Professional Content Using AI
I share my experience using AI to enhance low quality video footage, including tools, workflow, mistakes, and tips for professional, high quality results.
Key Points Regarding AI Video Enhancement
Why my early attempts at fixing blurry, pixelated videos failed
Tools I used for AI upscaling and enhancement
How AI algorithms analyze and improve video quality
Real life examples from projects I actually completed
Mistakes I made and how I fixed them
Step by step workflow to enhance low quality footage
Practical maintenance checklist for consistent results
How I Learned to Turn Low Quality Video Footage Into Professional Content Using AI
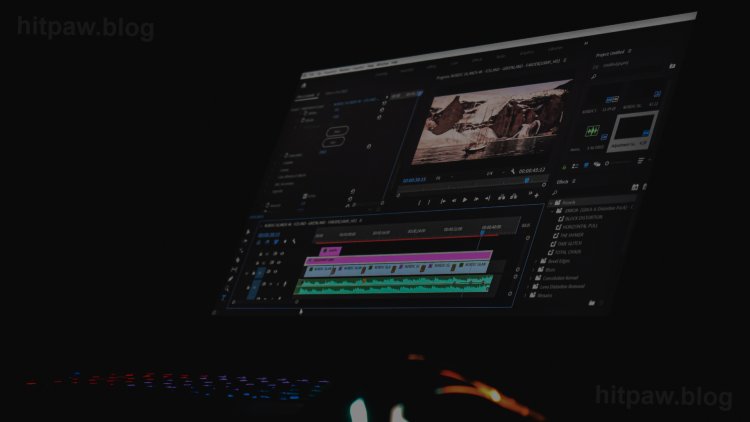
I remember receiving a client’s footage shot on a small budget camera it was 480p, grainy, and full of compression artifacts. My first instinct was to sharpen and adjust contrast manually, but the result looked unnatural. Hours of editing yielded little improvement, and I almost gave up.
Then I discovered AI based video enhancement tools. The promise of upscaling, denoising, and restoring details automatically sounded too good to be true. After experimenting with several tools, I realized that AI works best when paired with careful planning, correct models, and post processing tweaks.
This project changed the way I approach video editing and taught me that even low quality footage can be transformed into something professional.
My First AI Video Enhancement Project
The project was a client’s old tutorial series filmed in 480p. My objectives were simple:
Improve visual clarity
Remove grain and compression noise
Produce a version suitable for YouTube in 1080p
First attempt using basic upscaling software:
Resulted in slightly better resolution but introduced artifacts
Edges were unnaturally sharp
Colors looked off
I quickly realized AI can’t do everything automatically it requires the right tool, model selection, and parameter tuning.
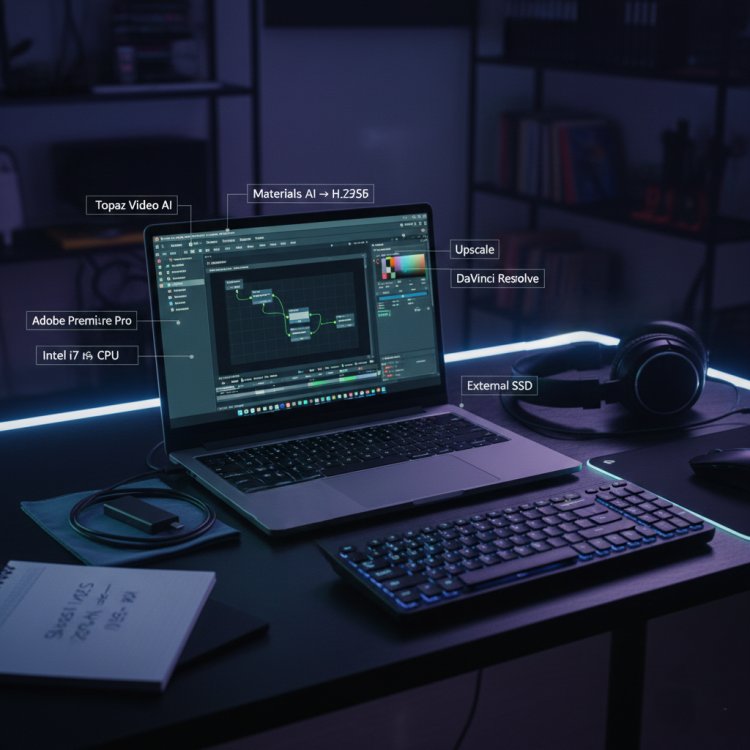
Materials I Personally Used
Software Tools
Topaz Video AI main AI upscaling and denoising tool
Adobe Premiere Pro for trimming and final editing
DaVinci Resolve optional for color grading post AI enhancement
HandBrake compressing output for web without losing quality
Hardware
Laptop with Intel i7 CPU, 16GB RAM, and NVIDIA RTX 2060 GPU
External SSD for storing large video files
File Types
Input: MP4, MOV, AVI
Output: MP4 H.264/H.265 for web delivery
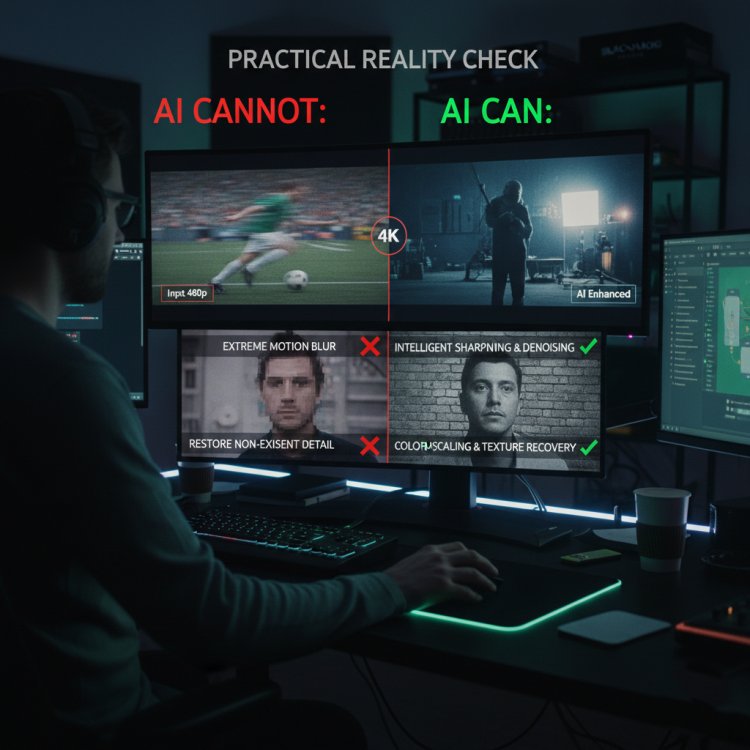
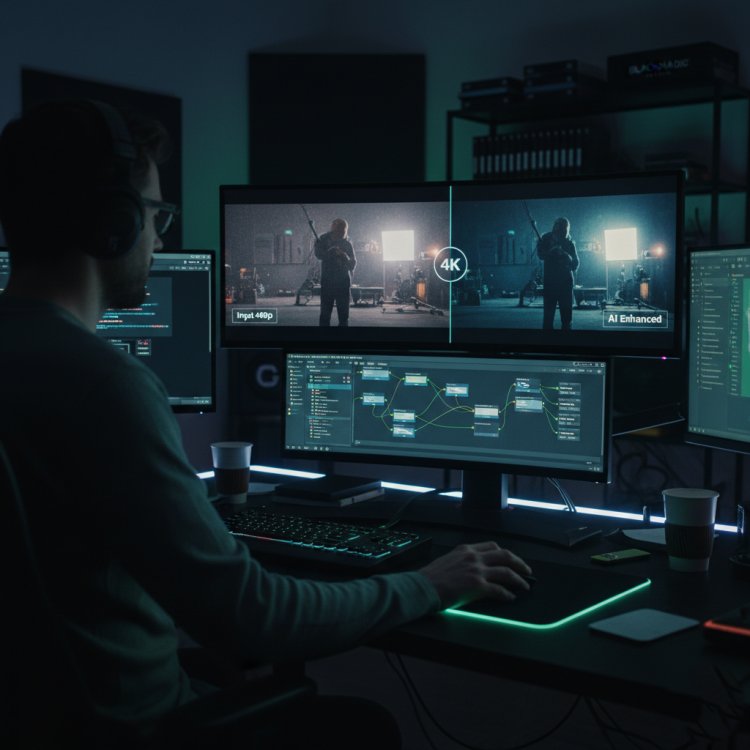
Practical Reality Check About AI Video Enhancement
AI enhancement isn’t magic it’s a tool that needs human guidance.
AI can:
- Upscale resolution
- Reduce noise
- Sharpen details intelligently
- Recover subtle textures
AI cannot:
- Correct extreme motion blur automatically
- Restore details that never existed in low quality footage
- Color correct without human input
How I Improved Low Quality Footage
Step 1: Analyse Your Source Video
Check resolution, frame rate, compression artifacts
Note sections with excessive noise or motion blur
Lesson Learned: Skipping this step results in overcompensated AI processing and unnatural artifacts
Step 2: Select the Correct AI Model
Topaz Video AI provides several models:
Gaia: Best for upscaling natural textures
Artemis: Ideal for noisy, low light footage
Proteus: Manual control over motion, detail, and enhancement
Mistake I Made First Time:
Used default settings > edges over sharpened, unnatural look
Fix:
Tested each model on short clips
Chose the model based on footage type
Step 3: Pre Process the Video
Stabilize shaky footage
Crop unnecessary borders
Reduce extreme noise in problem areas
Pro Tip: Pre processing prevents AI from amplifying unwanted artifacts
Step 4: Run AI Enhancement
Set target resolution (e.g., 1080p or 4K)
Adjust denoise and sharpness sliders carefully
Render using GPU acceleration
Pro Tip: Test a 10second clip first saves hours if adjustments are needed
Step 5: Post Processing in Editing Software
Import enhanced video into Premiere Pro or DaVinci Resolve
Adjust color, contrast, and saturation
Check for motion artifacts or over sharpened edges
Apply minor sharpening if needed
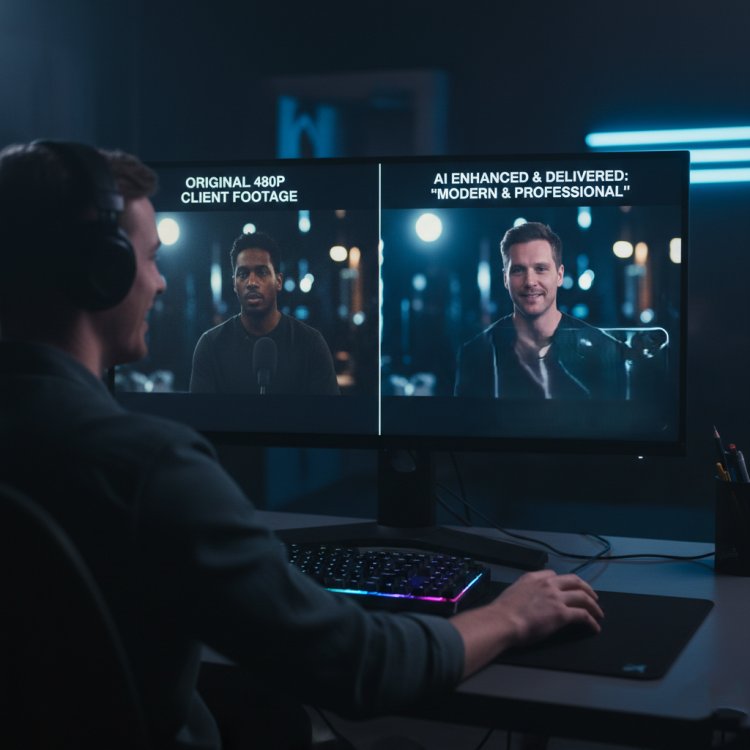
Real Life Example:
Original 480p client tutorial > AI upscale to 1080p > post processed color and contrast > YouTube ready video with professional clarity
Step 6: Export Settings for Web Delivery
MP4 format, H.264 codec
Bitrate around 12 to 20 Mbps for 1080p
High quality audio if needed (AAC 320kbps)
My Video Enhancement Checklist
|
Check |
Status |
|
Source resolution & quality analyzed |
✔ |
|
Correct AI model selected |
✔ |
|
Pre processing done (stabilize/crop) |
✔ |
|
AI enhancement applied |
✔ |
|
Post processing done (color, contrast) |
✔ |
|
Export format & bitrate correct |
✔ |
Real Feedback After Fixing Workflow
Clients review:
“I can’t believe this was the old footage. It looks modern and professional!”
The workflow reduced time spent manually fixing footage while producing high quality results consistently.
Tip From My Experience
Always keep the original footage untouched. Run AI enhancements on copies this way, you can always adjust parameters later without losing the raw source.
Final Considerations
AI video enhancement is powerful for transforming low quality footage. The key is to:
Analyse your source
Pick the right AI model
Process problem areas
Apply AI enhancement carefully
Post process for color, motion, and natural tone
When I followed this workflow, even 480p footage looked like professionally shot 1080p content. Combine AI tools with your editing skills, and you can consistently produce high quality, professional videos from low quality sources.
Common Questions About AI Video Enhancement
Q1: Can AI truly convert 480p to 1080p without looking artificial?
Yes, but extreme low resolution footage may still lose fine detail AI improves perception and sharpness.
Q2: Which AI model is best?
Depends on footage: Gaia for natural textures, Artemis for noisy or low light videos, Proteus for manual tuning.
Q3: Does AI remove motion blur automatically?
Only minor blur. Significant shake or blur should be fixed in editing software before AI enhancement.
Q4: Can AI fix color issues automatically?
AI can improve clarity but color correction is best done manually post enhancement.
Q5: How long does AI enhancement take?
Depends on length, resolution, and GPU power. A 10minute 480p clip may take 15 to 30 minutes on a mid range GPU.
Q6: Is AI enhancement worth it for all videos?
Best for tutorials, client projects, and content where professional clarity is needed.
What's Your Reaction?