The Audio Problem That Almost Killed My Content
I share my real audio enhancement workflow, tools, mistakes, and step-by-step process to fix noisy, uneven voice recordings for videos.
Key Points Regarding Audio Enhancement Guides
Why bad audio almost ruined my videos and client trust
The exact tools and settings I personally used to enhance audio
Step by step audio clean up workflow that actually worked
Real mistakes I made in noise reduction and compression
Practical fixes for echo, background noise, and uneven voice
Maintenance checklist I follow for every project now
The Audio Problem That Almost Killed My Content
I learned the hard way that people will forgive average video quality, but they will not tolerate bad audio.
When I uploaded my first tutorial videos, I couldn’t understand why viewers clicked away within seconds. The video looked fine, the content was helpful, but the retention was terrible. Then I listened again carefully, with headphones. My voice sounded hollow, background noise was constant, and volume levels jumped up and down.
I was recording in a normal room with no studio setup. I thought that was the problem. Later, I realized the real issue wasn’t my room it was how I handled audio after recording.
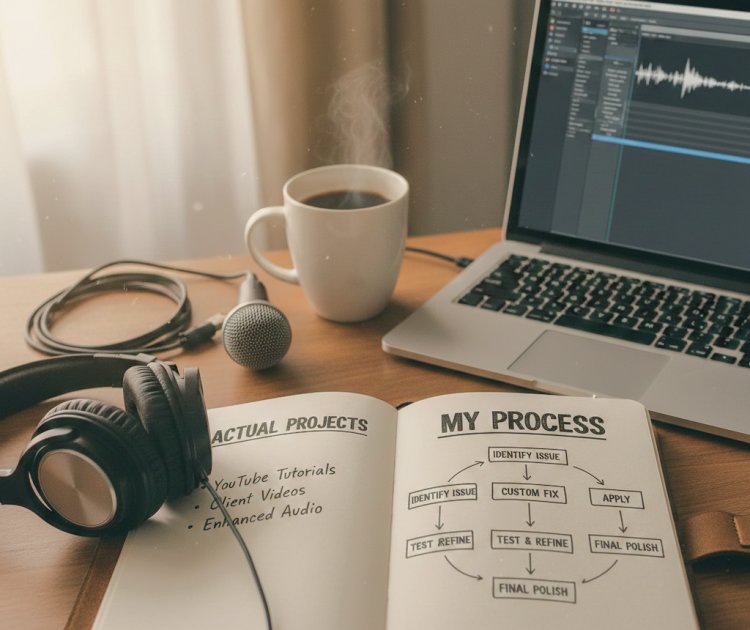
This guide is based on the exact process I used to fix that problem. No theory, no copied techniques. Everything here comes from actual projects where I enhanced audio for YouTube tutorials and client videos.
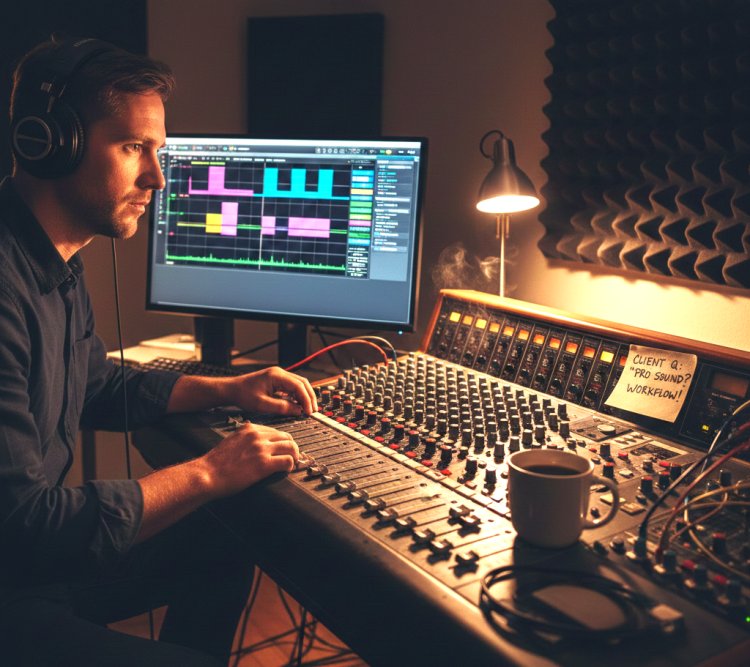
The Project That Forced Me to Take Audio Seriously
The turning point was a 15minute screen recorded tutorial for a freelancing client. The content was solid, but the raw audio had issues:
Keyboard clicks
Fan noise
Uneven voice volume
Slight echo
The client asked one simple question:
“Can you make the audio sound professional?”
That’s when I realized guessing wouldn’t work anymore. I needed a repeatable audio enhancement workflow.
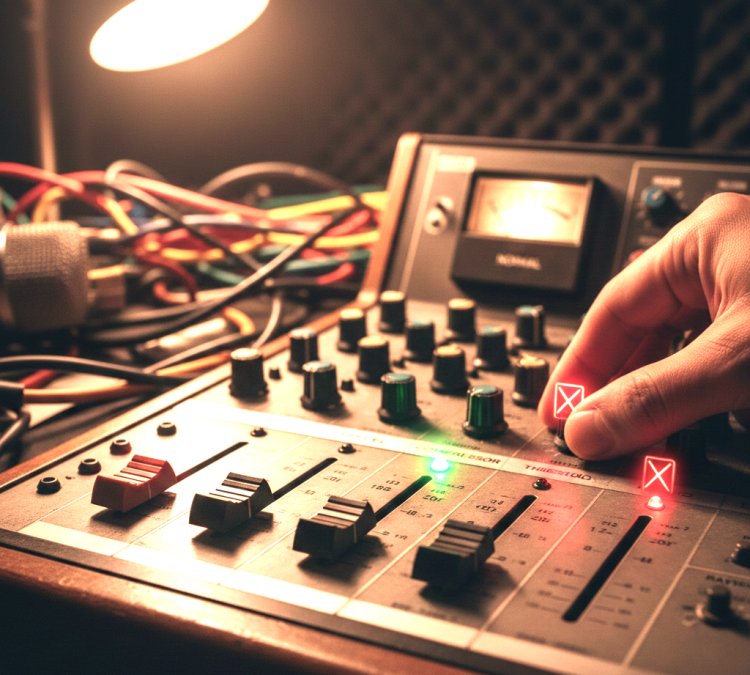
Tools I Personally Used
I’m not listing expensive studio gear. This is exactly what I used at the time.
Hardware
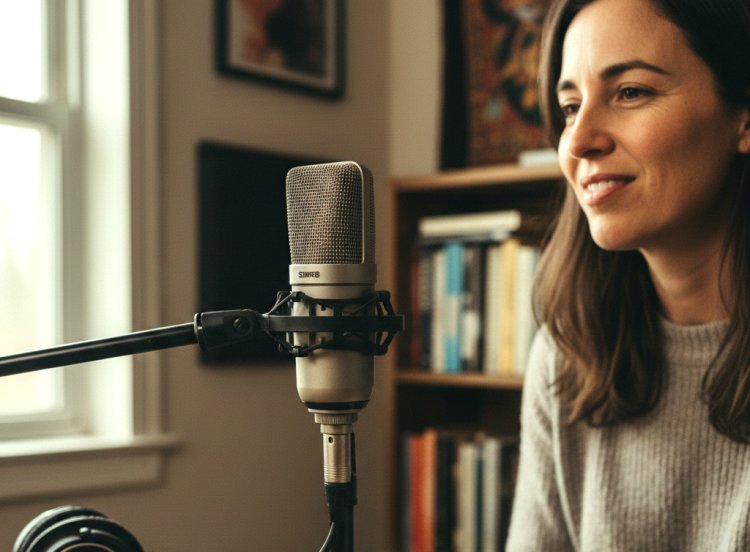
USB Microphone: Basic condenser mic
Room: Small bedroom (no soundproofing)
Headphones: Wired headphones for monitoring
Software
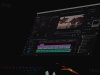
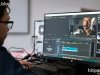
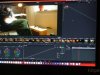
Primary Editor: Adobe Premiere Pro
Audio Cleanup: Built in effects only
Noise Reduction: Premiere’s DeNoise
Compression & EQ: Standard audio effects
No external plugins. No paid audio packs.
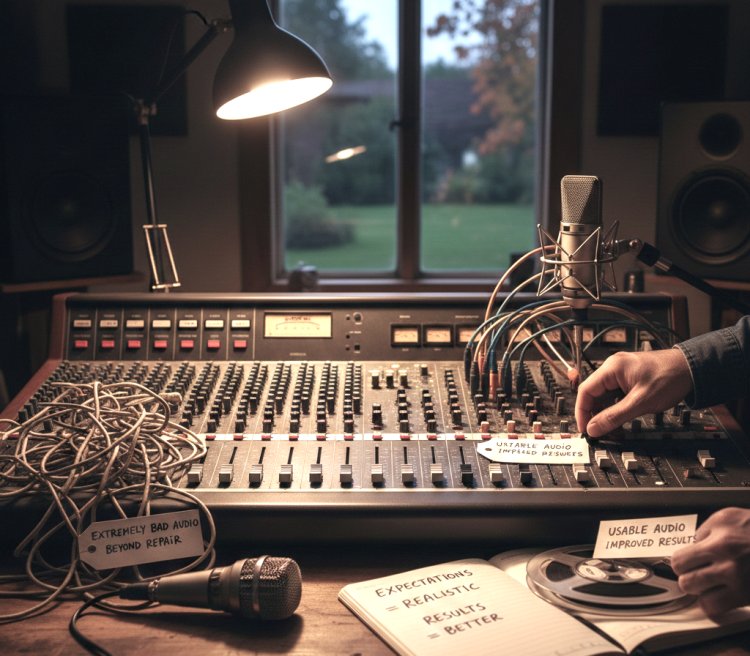
Practical Reality Check (Important for Beginners)
Before we go step by step, here’s something I learned quickly:
You cannot “fix” extremely bad audio, but you can greatly improve usable audio.
Once I accepted this, my expectations became realistic and my results improved.
Step by Step Audio Enhancement Workflow (Exactly How I Do It)
Step 1: Listening to the Raw Audio Without Touching Anything
This sounds basic, but I used to skip it.
Now I:
Play the entire clip
Note noise levels
Mark volume drops
Identify echo areas
This tells me what NOT to over process.
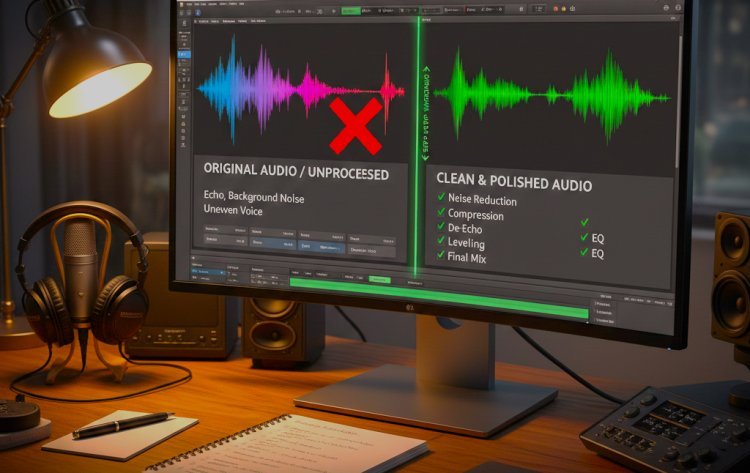
Step 2: Cleaning Background Noise (My Biggest Early Mistake)
What I Got Wrong the First Time
I applied heavy noise reduction because I thought “less noise = better audio.”
The result:
Robotic voice
Loss of clarity
Artificial sound
How I Fixed It
Now I:
Apply light noise reduction only
Reduce noise just enough to make it unnoticeable
Accept small natural room sound
Lesson learned: Over cleaning destroys voice quality.
Step 3: Normalizing Voice Volume
This step alone improved my audio more than anything else.
What I do:
Normalize voice to consistent levels
Ensure peaks don’t clip
Make quiet parts audible
Before this, viewers constantly adjusted volume. After fixing it, complaints stopped.
Step by Step Audio Enhancement Workflow (Exactly How I Do It)
Step 1: Listening to the Raw Audio Without Touching Anything
This sounds basic, but I used to skip it.
Now I:
Play the entire clip
Note noise levels
Mark volume drops
Identify echo areas
This tells me what NOT to over process.
Step 2: Cleaning Background Noise (My Biggest Early Mistake)
What I Got Wrong the First Time
I applied heavy noise reduction because I thought “less noise = better audio.”
The result:
Robotic voice
Loss of clarity
Artificial sound
How I Fixed It
Now I:
Apply light noise reduction only
Reduce noise just enough to make it unnoticeable
Accept small natural room sound
Lesson learned: Over cleaning destroys voice quality.
Step 3: Normalizing Voice Volume
This step alone improved my audio more than anything else.
What I do:
Normalize voice to consistent levels
Ensure peaks don’t clip
Make quiet parts audible
Before this, viewers constantly adjusted volume. After fixing it, complaints stopped.

What I Got Wrong the First Time (Important Lessons)
Mistake #1: Fixing Audio at the End
Audio should be fixed early, not after editing visuals.
Mistake #2: Trusting Speakers Only
Speakers hide problems. Headphones reveal everything.
Mistake #3: Copying Random Presets
Presets didn’t match my voice or room.
Fix: I adjusted settings manually for each project.
Practical Advice from Real Projects
Here’s something I always tell beginners:
Don’t chase perfect audio
Aim for clear and comfortable
If your voice feels natural, you’re doing it right
People want to understand you not admire your audio effects.
Tip from My Experience
If your audio sounds good on cheap earphones, it will sound good everywhere.
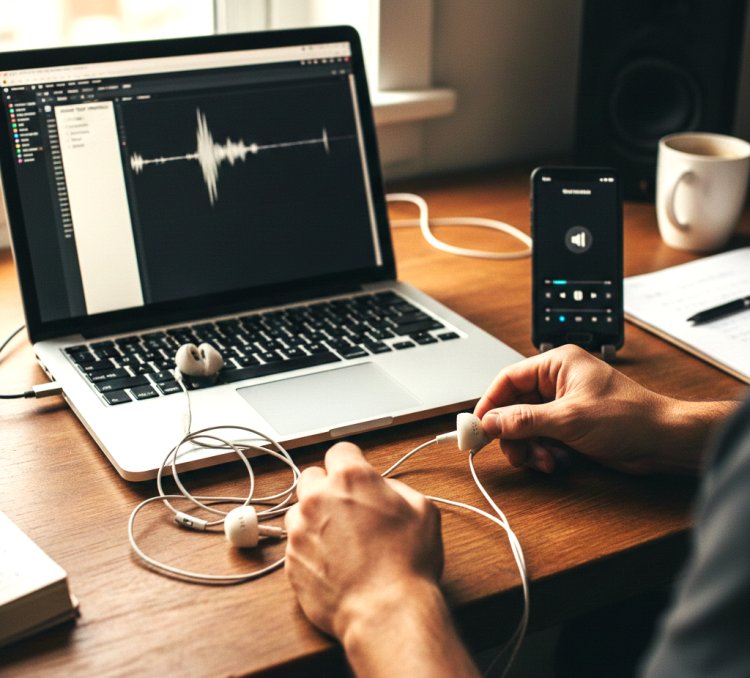
I always test audio on:
Headphones
Laptop speakers
Phone
If it passes all three, I export.
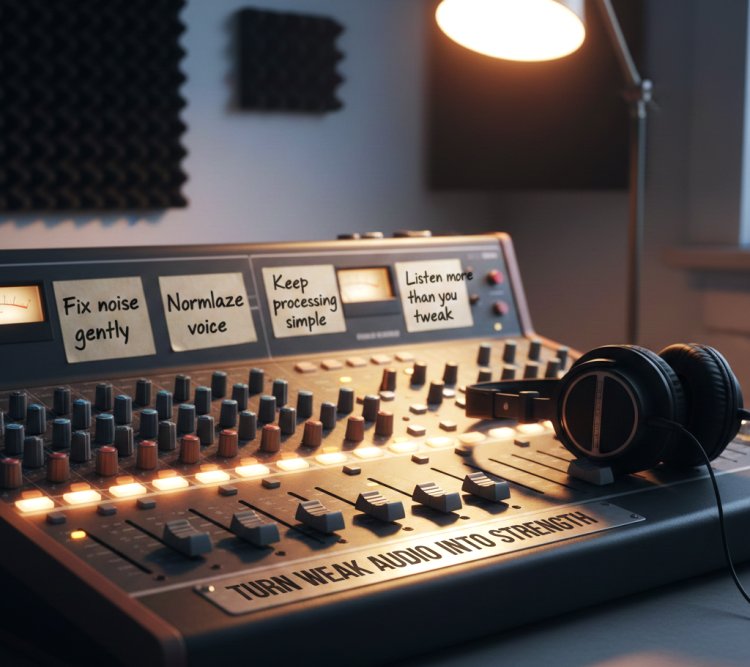
Conclusion
Audio enhancement isn’t magic it’s discipline.
Once I stopped rushing and followed a simple workflow, my videos improved instantly. Viewers stayed longer, clients trusted my work, and revisions dropped.
If you’re struggling with audio:
Fix noise gently
Normalize voice
Keep processing simple
Listen more than you tweak
That’s how I turned weak audio into a strength.
Real Questions I Get About Audio Enhancement
Q1: Can I fix bad audio without a studio?
Yes, if the recording is usable and you process it correctly.
Q2: Is noise reduction always necessary?
No. Only use it when noise is distracting.
Q3: Do I need paid plugins?
I didn’t. Built in tools were enough.
Q4: How long does audio enhancement take?
10 to 20 minutes once you have a workflow.
Q5: What ruins audio quality the most?
Over processing and heavy noise reduction.
Q6: Should I enhance audio before or after video editing?
Before finalizing visuals.
What's Your Reaction?