Why Resizing Videos Was a Nightmare for Me
I share my real workflow for resizing videos for Instagram, Facebook, YouTube, and more, including tools, mistakes, and step by step tips for professional results.
Key Points Regarding Resizing Videos for Social Media
Why my videos looked cropped or blurry on Instagram and Facebook
The exact tools I used for resizing without quality loss
Step by step workflow for preparing videos for multiple social media platforms
Real mistakes I made with aspect ratios, resolution, and bitrate
Practical examples from real projects
A maintenance checklist I follow before uploading
Why Resizing Videos Was a Nightmare for Me
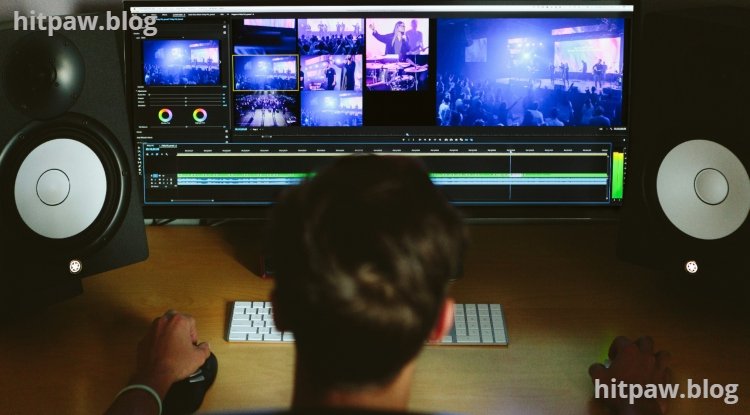
I remember my first attempt at posting a tutorial video on Instagram. I exported it in 16:9, just like YouTube. On Instagram, half of the video was cut off, and the text overlays looked awkward. I thought resizing would be a simple click in Premiere Pro but I quickly learned it’s more complicated.
Different platforms require different aspect ratios, resolutions, and sometimes frame rates. Uploading a video in the wrong size can make your content look unprofessional and hurt engagement.
After a few trial and error attempts, I developed a workflow that ensures my videos look good on every platform without losing quality.
The Project That Made Me Take Resizing Seriously
The project that changed my approach was a multi platform social media campaign. I needed to post the same 3minute tutorial on:
Instagram Reels (9:16)
Facebook Feed (1:1)
YouTube Shorts (9:16)
· Initially, I tried exporting a single 16:9 video for all platforms. The result:
Instagram cut off important details
Facebook had awkward black bars
YouTube Shorts didn’t fill the frame
I realized that resizing wasn’t just about stretching or cropping it required planning, precision, and platform specific settings.
Tools I Personally Used
Software Tools
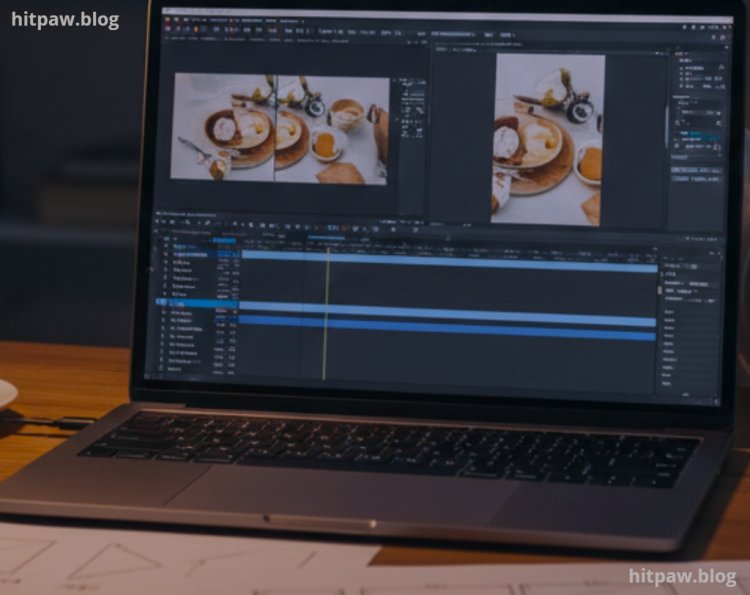
Adobe Premiere Pro main editor for resizing and exporting
Final Cut Pro Mac users can follow similar steps
HandBrake optional for compressing and adjusting bitrate
Canva Video Editor for simple social media resizing
File Types I Worked With
MP4 (preferred)
MOV for higher quality archival
Audio: WAV or MP3
Hardware
Laptop with Intel i7 and 16GB RAM
External SSD for faster editing and multiple resolution exports
Practical Reality Check About Resizing
Resizing videos isn’t just about changing dimensions it’s about aspect ratio, safe zones for text, and maintaining quality after compression.
Uploading a YouTube sized video to Instagram without proper adjustments is the fastest way to frustrate your audience. I learned this the hard way.
How I Resize Videos Professionally
Step 1: Determine Target Platform Requirements
Before opening Premiere Pro, I list all platforms:
|
Platform |
Aspect Ratio |
Recommended Resolution |
|
Instagram Reels |
9:16 |
1080 x 1920 |
|
Facebook Feed |
1:1 |
1080 x 1080 |
|
YouTube Shorts |
9:16 |
1080 x 1920 |
|
Twitter |
16:9 |
1280 x 720 |
This prevents guesswork and ensures I don’t lose important visual information.
Step 2: Adjust Timeline Settings
Mistake I Made First Time:
I exported the same timeline for all platforms. Result: text overlays got cut off.
Fix:
Create a new sequence for each target aspect ratio
Adjust frame size in sequence settings
Use safe margins for text to avoid cropping
Step 3: Scale and Reposition Clips
· Not all clips fit perfectly into every ratio. Here’s what I do:
Scale clips proportionally (avoid stretching)
Reposition key content in the frame center
Crop only if necessary, keeping important elements visible
Step 4: Check Audio and Visual Consistency
· Resizing can affect playback if clips are compressed differently. I:
Ensure audio levels are consistent across versions
Keep bitrate high enough to avoid compression artifacts
Preview on multiple devices
Step 5: Export Using Platform Specific Settings
My Export Workflow:
Format: MP4
Codec: H.264
Bitrate: High (VBR, 2pass if possible)
Resolution: Platform specific
· This ensures maximum quality and compatibility.
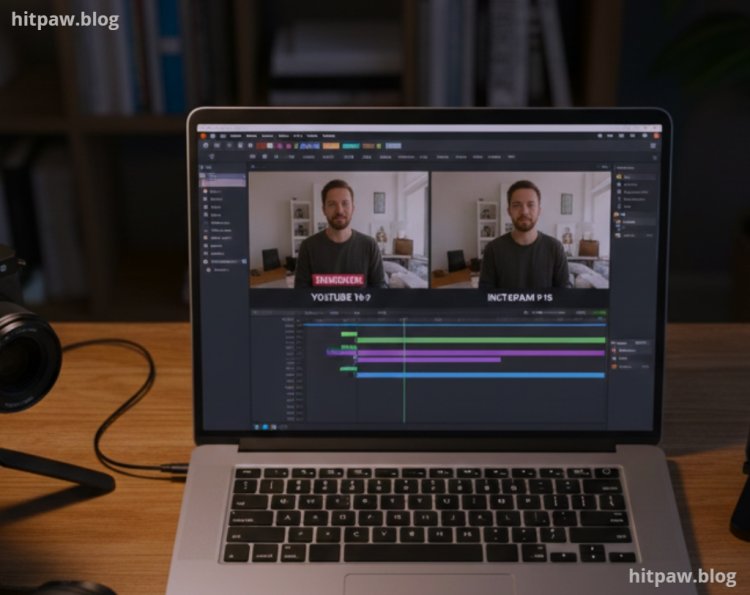
Real Project That Went Wrong First
I once tried posting a tutorial on Instagram Reels without resizing:
Video was 16:9
Text was cut off
Background elements were missing
Fix:
Created a 9:16 sequence
Scaled and repositioned all clips
Checked safe zones for text and key visuals
· Final result: a perfectly fitting Instagram Reel that preserved quality.
Real Feedback After Fixing Workflow
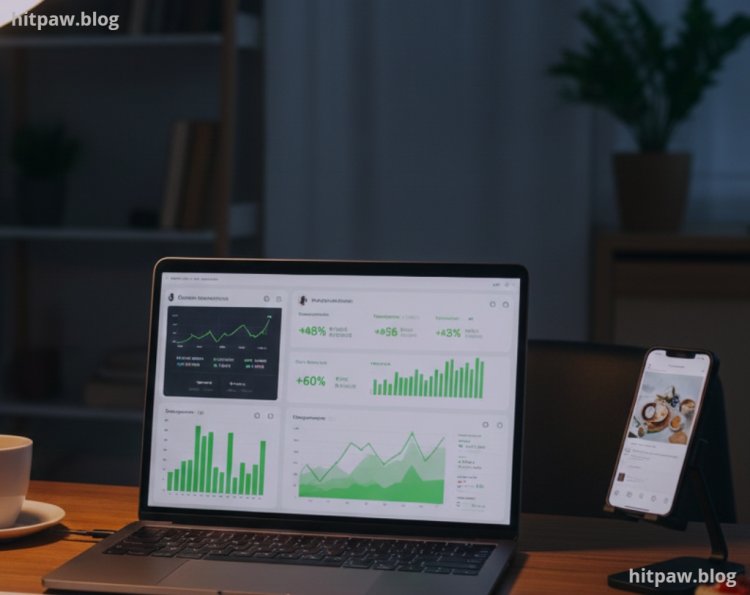
· After applying this resizing workflow:
Engagement improved across platforms
No more cropping complaints from viewers
Videos looked professional, regardless of platform
One viewer commented:
“Your videos look perfect on my phone and desktop love the clarity!”
What I Got Wrong the First Time
|
Mistake |
How I Fixed It |
|
Ignored safe zones |
Created guidelines in Premiere Pro |
|
Used same export for all platforms |
Exported platform specific sequences |
|
Low bitrate export |
Increased VBR and checked on multiple devices |
Tip From My Experience
Always keep your original 16:9 master video untouched. Create copies for each platform. This way, if a mistake happens, you can quickly start fresh without re editing everything.
In Summary
Resizing videos for social media is about preparation, planning, and platform specific settings.
Once I:
Created sequences for each platform
Checked safe zones
Scaled and repositioned content
Exported with high quality bitrate
· My videos started looking professional everywhere.
· If you struggle with resizing:
Know your platform requirements first
Use safe margins for text
Keep bitrate high to prevent quality loss
Preview before posting
· Follow these steps, and your videos will look polished, professional, and viewer ready.
Common Questions About Resizing Videos
Q1: Can I use one video for all platforms?
Yes, but it will often require cropping or scaling, which may cut off important content.
Q2: What is the best format for social media?
MP4 with H.264 codec is most widely compatible.
Q3: Should I adjust audio when resizing?
Yes, make sure levels stay consistent.
Q4: Do I need separate sequences for each platform?
I recommend it this prevents content from being cropped or distorted.
Q5: How can I avoid low quality uploads?
Keep bitrate high, use proper resolution, and avoid stretching.
Q6: Is Canva enough for resizing?
For basic posts, yes. For professional results, use Premiere Pro or Final Cut Pro.
What's Your Reaction?