Why Understanding System Requirements Is Crucial
Learn how to understand software system requirements before installing any program. This beginner friendly guide explains hardware and software needs, common pitfalls, and practical tips from my real experience to ensure smooth installation and optimal performance.

Main Highlights Regarding Software System Requirements:
Understand the difference between minimum and recommended system requirements
Learn how to check compatibility with your computer
Avoid installation errors by preparing hardware and software in advance
Step by step tips from real experience
Pro tips to maintain software performance
Why Understanding System Requirements Is Crucial
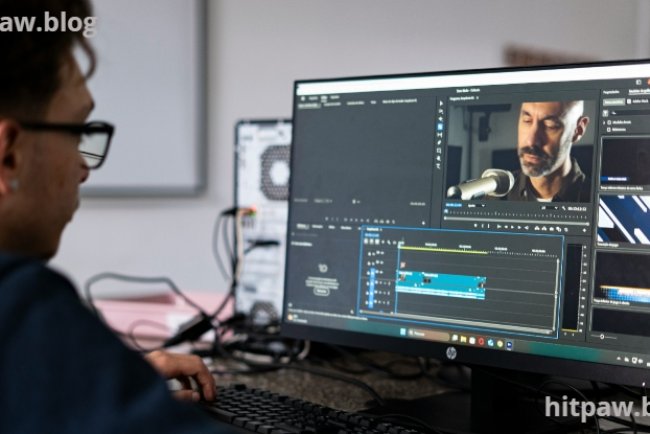
I remember the first time I tried installing a heavy video editing software on my old laptop. I followed all the instructions, clicked “Next” a hundred times, and then… nothing. The software crashed mid installation, froze, and eventually my laptop became almost unusable for hours. That experience taught me one important lesson: knowing your system requirements before installing software isn’t optional it’s necessary.
System requirements tell you exactly what your computer needs hardware, operating system, storage, and even specific software versions to run a program smoothly. Ignoring them often leads to wasted time, frustration, and sometimes even corrupted files.
In this guide, I’ll walk you through how to fully understand software system requirements, share mistakes I made, and give practical advice you can apply immediately.
Tools I Use to Check System Requirements
Before installing any software, I always gather a few tools to make my life easier:
CPU-Z: To check my processor details and speed
Speccy: To view RAM, storage, and motherboard specifications
Windows System Info / macOS About This Mac: For quick OS and storage checks
Software Documentation / Official Websites: Always double check recommended settings
Benchmarking Tools (optional): Tools like Cinebench or Geekbench to test if your system can handle demanding software
These are simple tools, but they save me from making huge mistakes.
Step 1: Identifying Minimum vs Recommended Requirements
One of my early mistakes was ignoring the difference between minimum and recommended system requirements. Let me explain:
Minimum Requirements: These are the bare minimum your system needs to just run the software. It may work, but often slowly, with crashes or glitches.
Recommended Requirements: These ensure smooth performance, faster processing, and all features functioning correctly.
· For example, when installing Adobe Premiere Pro:
Minimum: Intel i5 CPU, 8GB RAM, 2GB GPU
Recommended: Intel i7 CPU, 16GB RAM, 4GB GPU
I once tried installing Premiere with minimum specs. Editing a simple 1080p video turned into a nightmare I had to wait 10 minutes for a single frame to render.
Lesson learned: always aim for recommended specs if possible.
Step 2: Checking Compatibility with Your Operating System
Some software only works on specific operating systems. I once tried installing a new graphics tool that was Windows only on my MacBook Pro using Wine. It partially worked, but I lost several features.
Here’s how I check compatibility:
Open System Info (Windows: Start > type “System Information”; macOS: Apple Menu > About This Mac)
Check OS version and architecture (32bit vs 64bit)
Compare with software documentation to see if it’s compatible
Pro Tip: Many programs now require the latest OS updates. Installing software on outdated systems can cause crashes or security vulnerabilities.
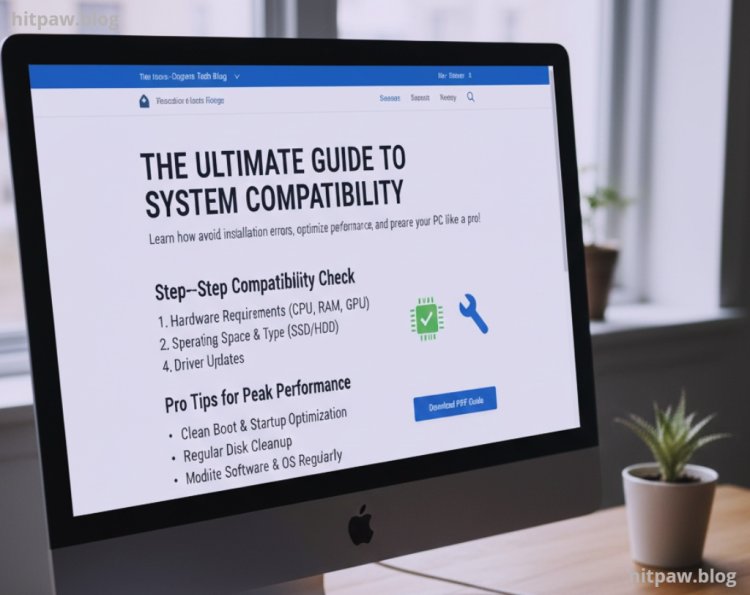
Step 3: Verifying Hardware Requirements
Here’s what I always check before installing demanding software:
CPU / Processor: Check model and speed. For example, some AI editing software requires a multi core processor.
RAM / Memory: I usually double the minimum requirement to avoid lag during complex projects.
GPU / Graphics Card: Critical for video editing, 3D design, or gaming software. Integrated graphics often struggle with high end applications.
Storage: Software installation size + extra space for files. I always ensure at least 20 to 30% free disk space beyond installation size.
Display / Resolution: Some software needs minimum resolution for the interface to display properly.
I learned this the hard way with a 3D modeling tool: I ignored the GPU requirement and my models were glitching badly. Upgrading my graphics card solved the problem.
Step 4: Checking Software Dependencies
Some software requires additional tools or frameworks:
.NET Framework or Visual C++ Redistributables for Windows programs
Java Runtime Environment for specific utilities
DirectX for gaming software
Specific drivers for GPUs
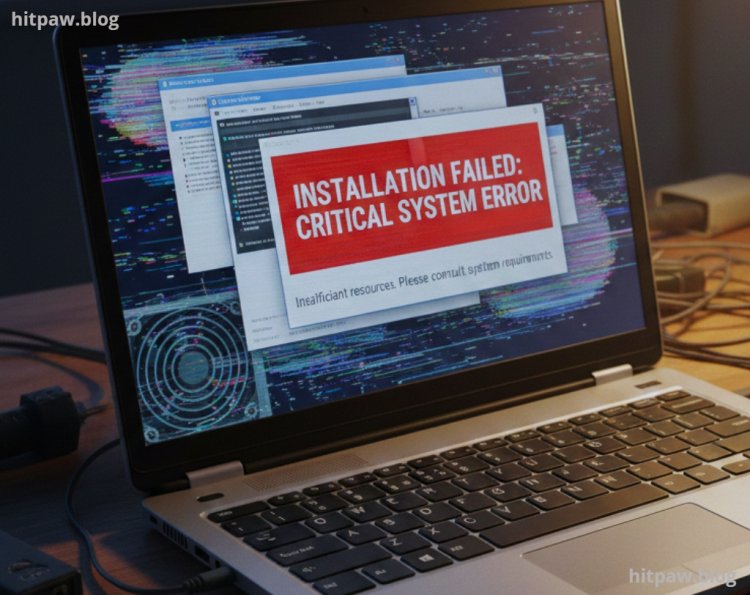
I once tried installing a scientific software package without updating Visual C++ Redistributables. The installation failed repeatedly until I installed the right version.
Lesson: always read the dependencies section.
Step 5: Understanding Software Updates
Software updates can increase system requirements. I had an old laptop running fine with version 1.0 of a photo editor, but version 2.0 required more RAM and GPU power. Installing it without checking caused crashes.
Practical tip: Before updating, check the release notes for:
Increased RAM, CPU, or GPU requirements
OS version updates
Deprecated features that might affect your workflow
What I Got Wrong the First Time
The first time I tried installing a high end editing suite, I ignored:
GPU requirements
OS updates
Free storage space
Result? Installation failed three times, system slowed down, and I lost several hours.
How I fixed it:
Upgraded my GPU
Updated Windows to the latest version
Cleared 50GB of storage space
Verified all dependencies like DirectX and Visual C++
Once I followed these steps, the software ran perfectly.
Step 6: Step by Step Guide to Verifying System Requirements
Here’s a checklist I follow before installing any software:
Open your system info tool (CPU-Z, Speccy, or System Info)
Note CPU model, cores, and speed
Check RAM and free memory
Verify GPU model and VRAM
Check storage space
Confirm OS version and architecture
Read software minimum and recommended specs
Check dependencies (frameworks, drivers, runtimes)
Compare your system vs requirements
Make necessary upgrades or adjustments
Following these steps saves time and avoids frustration.
Step 7: Practical Examples & Real Life Scenarios
Video Editing Software
Minimum RAM: 8GB, I have 16GB > Smooth performance
Minimum GPU: 2GB, I have 6GB > Handles 4K rendering without lag
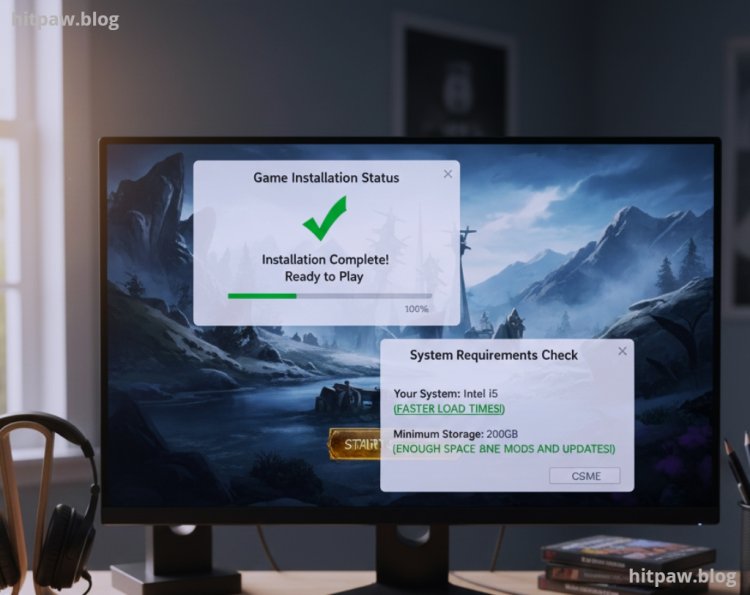
Game Installation
Minimum CPU: Intel i5, I have i7 > Faster load times
Minimum Storage: 50GB, I have 200GB > Enough space for mods and updates
By comparing my system with requirements beforehand, I avoided wasted downloads, failed installs, and hardware frustration.
Conclusion
Understanding software system requirements may feel tedious, but trust me it’s worth it. I’ve wasted countless hours and frustrated myself by ignoring these steps. By taking the time to check your hardware, OS, dependencies, and updates, you ensure smooth installation and optimal performance.
Remember: always aim for recommended specifications, not just minimums. Keep your system clean, updated, and prepared for software upgrades. Over time, this practice saves frustration, prevents data loss, and improves your workflow.
FAQs
1. How do I check system requirements for a software I want to install?
Check the official website or documentation. Tools like CPU-Z or System Info help verify your system.
2. Can I run software if my system only meets minimum requirements?
Yes, but performance may be slow or features limited. Recommended specs are always better.
3. What if my OS is outdated?
Updating your OS often resolves compatibility issues and prevents crashes.
4. How do I check GPU compatibility?
Use system info tools to check model and VRAM. Compare with software requirements.
5. Are software dependencies really necessary?
Yes. Missing frameworks, drivers, or runtimes can prevent installation or cause crashes.
6. Can updates change system requirements?
Absolutely. Always check release notes before updating to avoid installation errors.
What's Your Reaction?