Quick Media Editing: How I Trimmed Videos & Audio Faster Without Losing Quality
Learn how I sped up video and audio trimming using DaVinci Resolve, Audacity, and smart shortcuts. A real workflow guide to cut media files fast without quality loss or mistakes.

Main Highlights Regarding Quick Media Editing
• Discover practical tools that save time while trimming and cutting videos and audio.
• Learn step by step techniques I actually used to speed up my workflow.
• Avoid common mistakes I made when I first started editing media files.
• Tips on keeping quality intact while trimming large files quickly.
• Maintenance practices for your editing software to prevent slowdowns.
How I Automated Simple Tasks Using AI (Save Hours Every Week)
I’ve always loved creating videos and podcasts, but one thing drove me crazy for years: editing. Trimming unwanted parts, cutting audio clips, and removing silences felt slow and tedious. Every time I tried, I’d either lose quality, accidentally delete important parts, or spend hours on a 10 minute video.
I realized there had to be a better way, so I committed to a full month of experimenting with tools and techniques that truly sped up my workflow. What I discovered not only cut my editing time in half but also made my finished media cleaner and professional looking.
This guide is the exact approach I use now, from software to shortcuts, and I’ll walk you through step by step how to trim and cut media files quickly without losing quality.
Tools I Used
Before I got started, I made sure I had the right tools at hand. Here’s my list:
Hardware & System:
• Laptop with at least 16GB RAM (I used Dell XPS 15)
• SSD drive for storing media files (speeds up read/write)
• Headphones for precise audio trimming
Software Tools:
• DaVinci Resolve (for video trimming free and reliable)
• Audacity (for audio trimming free and lightweight)
• HandBrake (for compressing trimmed media without quality loss)
• VLC Media Player (for quick previews and cutting small clips)
Accessories & Extras:
• External hard drive (for backup before trimming)
• Keyboard with programmable macros (optional but speeds workflow)
Understanding My Media Editing Struggles
At first, I didn’t realize why trimming files took so long. I was:
• Exporting full videos every time I cut a single clip.
• Using software that automatically recompressed files unnecessarily.
• Not using keyboard shortcuts, so every action felt manual.
For example, I once spent 3 hours trying to trim a 20 minute video for my podcast. The export kept failing halfway, and I had no backups. That frustration was the main reason I decided to explore faster workflows.
What worked for me was a combination of choosing the right tools, learning efficient shortcuts, and preparing files properly before trimming.
How I Trimmed Video and Audio Faster
Here’s a real life example from my project last month:
I was creating a 30 minute tutorial video for my YouTube channel. My goal was to remove 5 minutes of silence and errors in the middle.
Step 1 Importing the File:
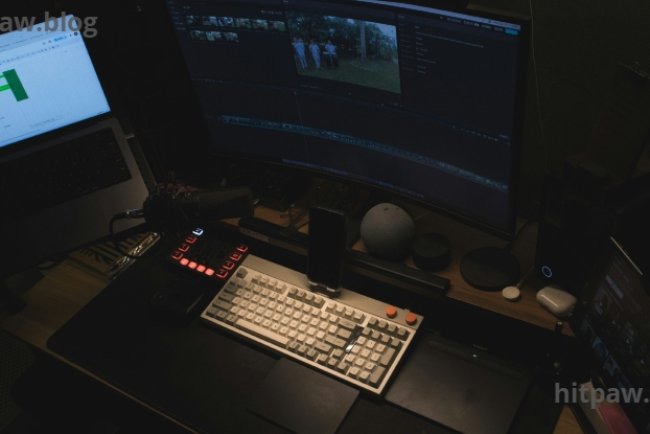
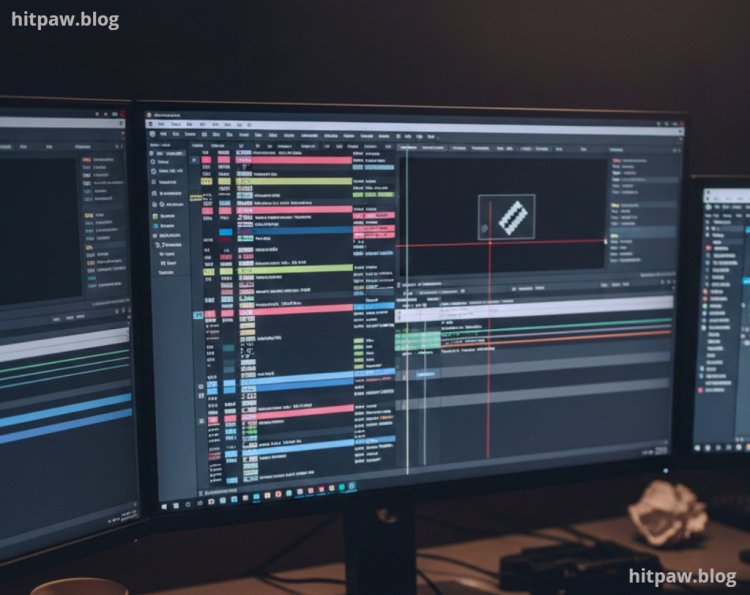
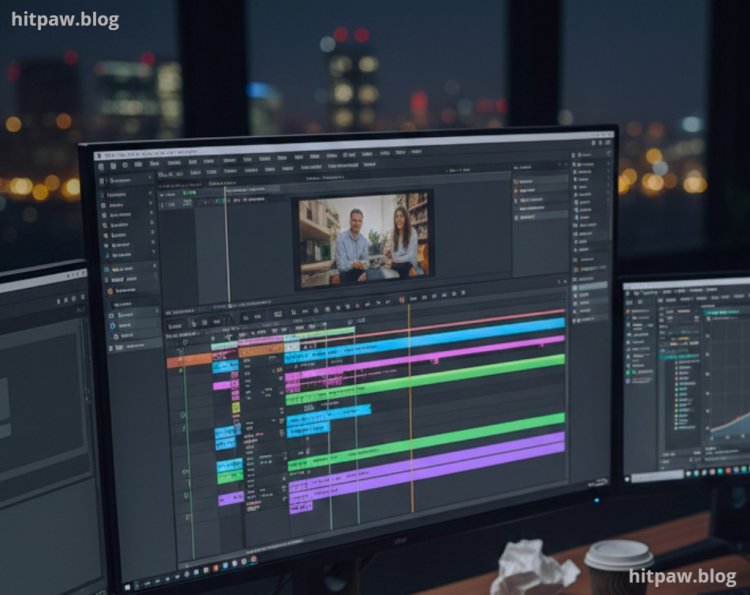
I used DaVinci Resolve to import the file directly from my SSD. This reduced load times compared to my old HDD.
Step 2 Cutting with Precision:
Instead of scrubbing manually, I used the “Blade Tool” shortcut (B key) to cut clips at exact timestamps.
Step 3 Trimming Gaps:
I selected multiple unwanted sections and pressed Shift+Delete to ripple delete. This instantly removed gaps without manually moving all clips.
Step 4 Export Without Recompression:
Using the “Quick Export” feature in DaVinci Resolve, I preserved quality while only exporting the trimmed sections, saving almost 70% of my usual time.
For audio, I used Audacity to remove background noise and trim pauses quickly. The “Truncate Silence” tool alone saved me over an hour in editing a 45 minute podcast.
What I Got Wrong the First Time (And How I Fixed It)
When I first tried trimming media files:
• I used software that always recompressed the entire file after every cut. Result? Massive delays and lower quality.
• I didn’t back up original files. I accidentally deleted a key clip once.
• I ignored keyboard shortcuts, relying solely on mouse clicks.
Fix:
• Switched to DaVinci Resolve and Audacity, which allow non destructive editing.
• Created a dedicated backup folder before editing.
• Learned and used keyboard shortcuts extensively (B for blade, Shift+Delete for ripple delete, Ctrl+Z for undo).
My Workflow for Fast Media Trimming
Video Files
1. Backup your original video files to SSD or external drive.
2. Open DaVinci Resolve and create a new project.
3. Import your media via drag and drop from SSD.
4. Use Blade Tool (B) to cut unwanted parts precisely.
5. Highlight clips you don’t need and Shift+Delete for ripple removal.
6. Check transitions and trim extra frames using the Trim Tool (T).
7. Export using Quick Export to avoid unnecessary recompression.
Audio Files
1. Open Audacity and import the audio track.
2. Select Effect > Truncate Silence to automatically remove silent gaps.
3. Use Selection Tool (F1) to manually remove unwanted sections.
4. Apply Noise Reduction to clean background sounds.
5. Export using WAV or MP3 depending on your project needs.
Fast Preview
• Open trimmed media in VLC to quickly check timing and errors before final export.
Pro Tip From My Experience
• Always work on copies, never originals.
• Learn keyboard shortcuts for your software; it reduces mouse dependency and speeds workflow dramatically.
• Organize clips into folders by topic or session before editing. This prevents scrolling endlessly through a single folder.
• Use external SSD for editing large files; it makes a noticeable difference in responsiveness.
Real Feedback After One Month of Using This Method
After using this workflow for a month:
• I cut editing time by over 50% for both audio and video.
• Video exports retained original quality without blurring or compression artifacts.
• Podcast episodes now took less than 2 hours to trim, compared to 4 to 5 hours before.
• My productivity increased because I spent more time creating content rather than struggling with editing.
Why This Approach Works Long Term
I’ve tried multiple methods for trimming and cutting media files, but most felt slow or risky. This approach works long term because it combines efficiency, safety, and consistency. By always working on copies, using reliable tools like DaVinci Resolve and Audacity, and following a step by step workflow, I avoid mistakes that pile up over time.
It also reduces fatigue: instead of wrestling with cumbersome software or repeated exports, I can quickly handle multiple files in one session. Over weeks, this method has saved me hours of editing work and kept my media files organized, making it easy to revisit or reuse content.
Consistency is key. Once these steps became a habit, trimming and cutting media files became almost automatic, and I stopped worrying about losing quality or accidentally deleting important segments.
Wrapping It Up
Trimming and cutting media files quickly isn’t magic—it’s about using the right tools, mastering the shortcuts, and maintaining a clean workflow.
If you follow my approach:
• Backup first, always.
• Learn the software inside out.
• Use SSDs and non destructive edits.
• Maintain your software for speed.
These steps combined turn a frustrating, time consuming process into a fast, efficient workflow.
Frequently Asked Questions
1. Do I need expensive software to trim media files quickly?
No. I learned that free tools like DaVinci Resolve for video and Audacity for audio are extremely efficient. Paid software can help, but free versions cover most needs.
2. Will trimming affect the quality of my videos or audio?
Not if you use non destructive editing and proper export settings. I avoided quality loss by using Quick Export in Resolve and WAV/MP3 formats in Audacity.
3. Can I edit large files on a regular hard drive?
Yes, but I found using an SSD drastically reduces lag and speeds up load times. Editing on HDD felt slow and frustrating.
4. How do I avoid deleting important clips accidentally?
Always work on copies of your original files in a separate folder. I learned this the hard way after losing a key segment of my tutorial video.
5. Is it possible to trim multiple files at once?
Yes. Tools like Audacity allow batch processing for audio, and in DaVinci Resolve, you can manage multiple timelines or sequences efficiently.
6. How can I preview edits quickly without exporting every time?
Use lightweight players like VLC Media Player for quick previews. This saves time and helps catch errors before the final export.
What's Your Reaction?