Usage Tips of Software
Discover advanced software tips and tricks from real life experience. Learn shortcuts, automation, templates, and workflow optimization to save time, reduce errors, and maximize productivity in video editing, graphic design, and more.

Main Highlights Regarding Advanced Usage Tips of Software
Learn advanced software features I actually use in real projects.
Tips for boosting productivity and workflow efficiency.
Common beginner mistakes and how to avoid them.
Step by step guidance for mastering complex software functions.
Pro tips to save time, reduce errors, and optimize performance.
Usage Tips of Software
When I first started using advanced features of professional software, I constantly felt overwhelmed. I remember trying to apply batch processing in video editing software and accidentally overwriting hours of work because I didn’t understand the settings fully. My productivity took a massive hit, and I knew there had to be a smarter way.
This guide is built entirely from my hands on experience using software professionally for projects ranging from video editing and graphic design to workflow automation. I’ll share real mistakes, practical solutions, and insider tips to help you use software like a pro without the trial and error headaches I went through.
By the end of this guide, you’ll understand not just how to click buttons, but why certain methods work better, making you faster, more precise, and far less frustrated.
Tools I Use
Here’s a breakdown of the software and tools I frequently use in my projects:
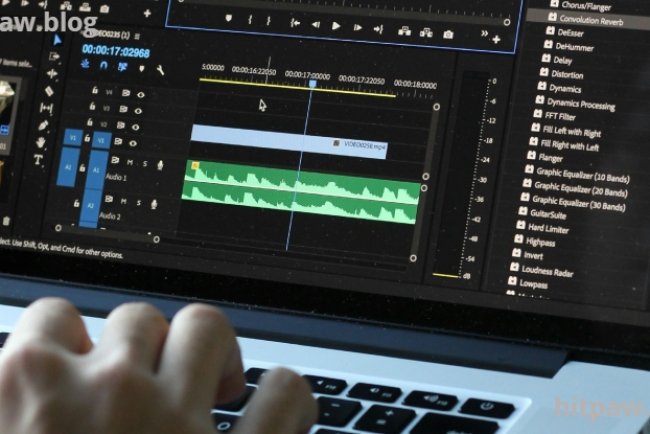
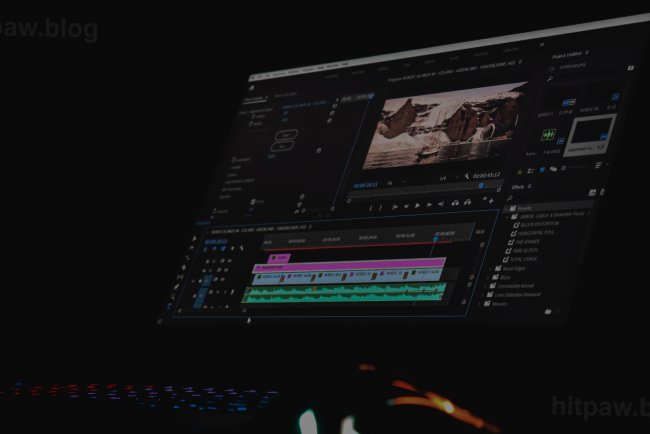
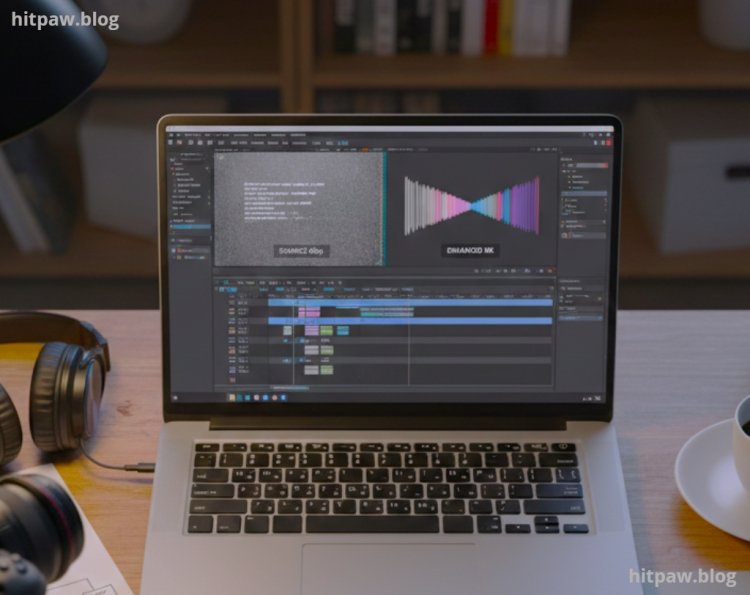
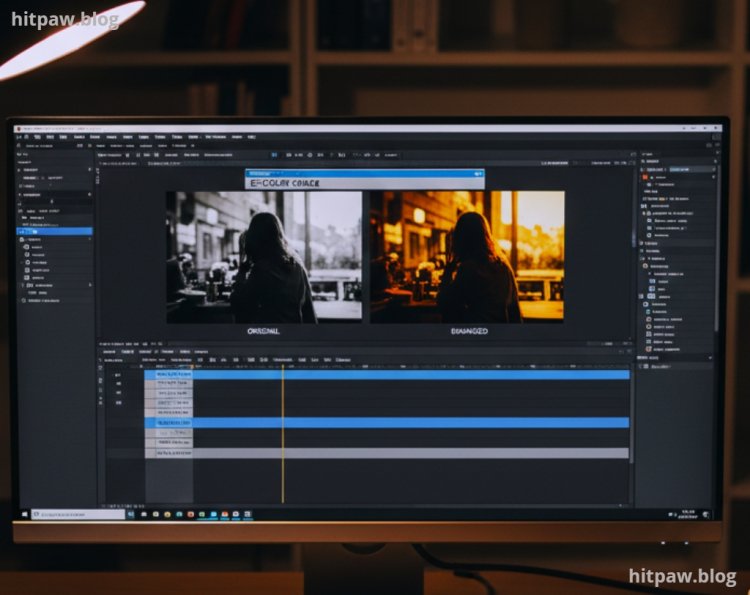
Adobe Premiere Pro is for advanced video editing, effects, and workflow automation.
Photoshop CC 2026 for advanced image manipulation and batch processing.
Notion for organizing tasks and software project workflows.
OBS Studio is for recording software tutorials with precise settings.
Figma for UI/UX and collaborative design work.
Keyboard Shortcuts Cheat Sheet I always keep this handy to reduce repetitive tasks.
External SSD Drive (1TB Samsung T7) for storing large project files and backups.
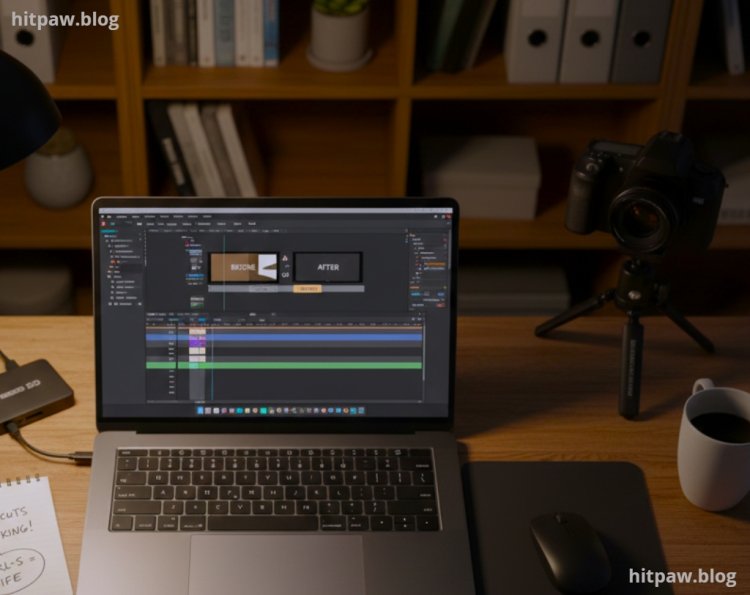
Dual Monitor Setup allows me to reference tutorials while working without switching tabs.
Step by Step Advanced Tricks
1. Mastering Keyboard Shortcuts for Speed
When I first started editing, I relied too much on mouse clicks. This slowed me down tremendously. After creating a custom shortcut setup in Adobe Premiere Pro, I noticed I could trim, copy, paste, and apply effects in half the time.
Step by Step:
Go to Edit > Keyboard Shortcuts.
Search for the commands you use most.
Assign custom key combinations you can easily remember.
Test them on a small project before committing.
Pro Tip: I also print a small cheat sheet and stick it to my monitor. Having the shortcuts at eye level keeps me fast without memorizing everything immediately.
2. Automating Repetitive Tasks
I once spent hours manually resizing images for a social media project. Then I discovered batch processing in Photoshop. Automating repetitive tasks saves tons of time.
Step by Step:
Open Photoshop > File > Scripts > Image Processor.
Select your source folder and output folder.
Choose the file type and desired settings.
Click Run and let the software handle hundreds of images in minutes.
Real Feedback: I used to do this manually, and I kept making mistakes on size and resolution. Once automated, errors dropped to almost zero, and I could focus on creativity instead.
3. Using Layers & Non Destructive Editing
Early on, I made the mistake of editing directly on original files. One wrong step and hours of work vanished. Non destructive editing (like adjustment layers in Photoshop or adjustment layers in Premiere Pro) allows me to experiment safely.
Step by Step:
Open a new adjustment layer.
Apply effects or corrections here instead of on the original layer.
You can toggle visibility to compare edits.
Pro Tip: I label each layer clearly. “Color Correct – Scene 1” helps me find adjustments quickly in complex projects.
4. Leveraging Templates & Presets
I used to start every project from scratch, which wasted a lot of time. Learning to use templates and presets dramatically increased efficiency.
Step by Step:
Save project templates for common tasks (e.g., social media video layout).
Create custom effect presets for recurring adjustments (like color grading).
Apply presets to new projects and tweak slightly instead of starting over.
Failure Lesson: Initially, I saved presets in the wrong folder, and Premiere couldn’t locate them on a new computer. Always back up preset folders.
5. Workflow Optimization With Multi Monitor Setup
Trying to juggle timelines, source material, and reference files on a single screen is painful. I set up a dual monitor workflow, which transformed my productivity.
Step by Step:
Keep your timeline and main editing panel on one monitor.
Put reference files, toolbars, or tutorial videos on the second monitor.
Avoid switching tabs constantly everything you need is visible.
Pro Tip: I use one monitor in portrait mode for long scripts or timelines. This makes scanning easier and reduces scrolling time.
6. Advanced Rendering & Export Tips
I remember exporting videos in a beginner’s rush and ending up with low quality files. Understanding render settings ensures the highest quality output without unnecessary file size.
Step by Step:
Set format to H.264 for most online platforms.
Use preset like “YouTube 1080p Full HD.”
Adjust bitrate to match content complexity (higher for detailed visuals, lower for simple graphics).
Enable maximum render quality to avoid pixelation.
Lesson Learned: Exporting too quickly without tweaking bitrate led to blurry results. Once I followed these settings, clients noticed the difference immediately.
What I Got Wrong the First Time
Skipping Backup Workflow: I lost a week of edits because I didn’t back up regularly. Now, I back up to two locations: an external SSD and a cloud folder.
Overloading Effects: Initially, I added too many effects, slowing software down. Lesson: use effects only when necessary.
Ignoring Keyboard Shortcuts: Relying on the mouse alone made projects 2x slower. Shortcuts are now my lifeline.
In Summary
Using advanced features isn’t just about clicking buttons. It’s about creating a system that works for you. Mistakes are inevitable, but each one teaches you a shortcut, a workflow tweak, or a better method.
I’ve found that investing in learning advanced techniques pays off exponentially in time saved and quality produced. With the tips above, you can master software faster, reduce errors, and gain confidence in handling complex projects.
Remember: start small, automate repetitive tasks, use templates, master shortcuts, and back up everything. Your future self will thank you.
FAQs
Q1: How do I avoid losing files when using advanced software?
A: Always back up projects in multiple locations external drives and cloud storage are essential.
Q2: Are templates worth investing time in?
A: Absolutely. They save hours and ensure consistent quality across projects.
Q3: Should beginners start with shortcuts?
A: Only the most basic ones. Advanced shortcuts can overwhelm a beginner. Build them gradually.
Q4: Can I automate editing tasks in all software?
A: Most professional tools like Premiere, Photoshop, and Illustrator support automation through scripts, presets, or batch processing.
Q5: How often should I update my software?
A: Monthly or whenever official updates are released. Updates fix bugs and often improve workflow speed.
Q6: What’s the best way to learn advanced features quickly?
A: Hands on projects combined with tutorials. Mistakes teach faster than theory alone.
What's Your Reaction?