Why I Had to Learn Video Noise Reduction the Hard Way
Learn how AI removes video noise and grain based on real editing experience. Step by step workflow, mistakes to avoid, and practical tips for cleaner videos.
Main Highlights Regarding How AI Helps Remove Video Noise and Grain
Why video noise and grain ruined my early projects
The real difference between traditional noise reduction and AI based tools
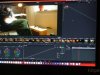
Exact tools I used to clean noisy video footage
Step by step workflow I follow for professional results
Mistakes I made the first time (and how I fixed them)
When AI noise reduction works best and when it doesn’t
Practical tips to avoid plastic looking footage
Real world use cases: YouTube, client work, old videos, low light footage
Why I Had to Learn Video Noise Reduction the Hard Way
I still remember exporting one of my first serious video projects and feeling confident until I watched it on a larger screen. The footage looked sharp at first glance, but the moment the scene got darker, ugly grain started crawling everywhere. Skin tones looked dirty, shadows were dancing, and the whole video screamed “low quality.”
At that time, I didn’t understand why it was happening. I had used a decent camera, decent lighting (or so I thought), and a popular editing software. The problem was video noise, and back then, I had no idea how badly it could destroy a final edit.
That frustration pushed me to experiment with AI based video noise reduction tools, and over time, I learned what actually works, what ruins footage, and how AI completely changed my workflow.
This guide is based on my real experience, not theory.
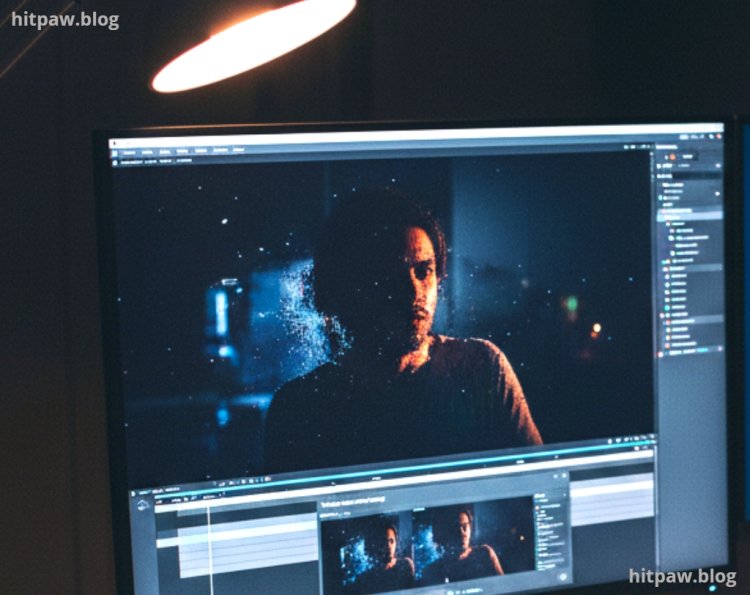
What Video Noise and Grain Really Look Like in Real Projects
Video noise and grain usually show up when:
You shoot in low light
You increase ISO
You use cheap sensors or old cameras
You record screen footage at low bitrates
You upscale old or compressed videos
· In my case, the worst noise appeared in:
Indoor YouTube videos shot at night
Client interviews recorded in poorly lit rooms
Old archived videos recorded at low resolution
Traditional editing tools made things worse instead of better. That’s when I started testing AI based solutions.
Materials I Actually Used
Here’s what I personally used while learning AI noise reduction:
Hardware
Mirrorless camera (APS-C sensor)
External LED panel lights (basic, not studio grade)
Desktop PC with dedicated GPU (very important)
Software Tools
AI video denoising software (with temporal noise reduction)
Traditional video editor for comparison
External hard drive for backups (learned this the hard way)
These tools mattered because AI noise reduction is hardware intensive, and weak systems give poor or slow results.
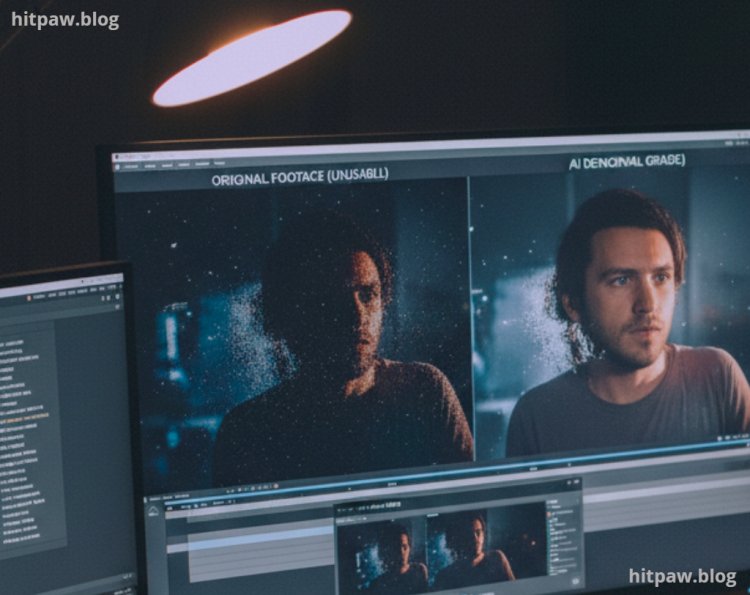
Traditional Noise Reduction vs AI Noise Reduction (My Honest Comparison)
Traditional Noise Reduction (What I Tried First)
Manual sliders
Blur based smoothing
Frame by frame adjustments
Problems I faced:
Faces became waxy
Details disappeared
Grain reduced, but footage looked fake
Took too much manual effort
AI Noise Reduction (What Changed Everything)
AI tools analyze:
Multiple frames instead of one
Motion consistency
Edge details
Texture patterns
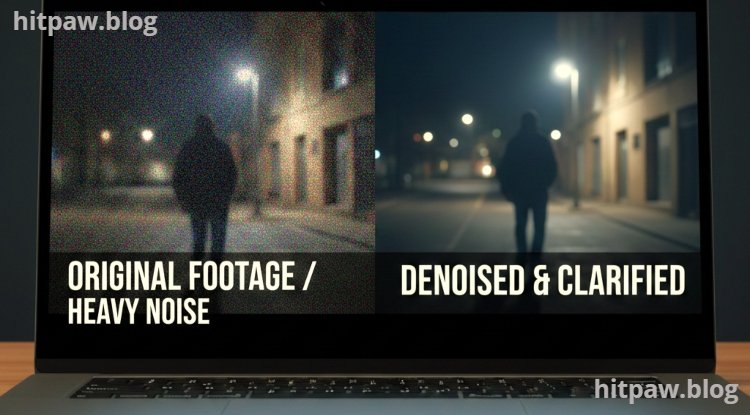
The result?
Noise reduced without killing detail
Skin stayed natural
Background stayed sharp
Less manual tweaking
This was the first time my videos looked clean but still real.
Step by Step: How I Remove Video Noise Using AI (My Exact Workflow)
Step 1: Analyze the Footage Before Touching Anything
I first check:
Where noise appears (shadows, skin, background)
Whether noise is static or moving
If the footage was compressed
Skipping this step is a mistake I made early on.
Step 2: Create a Backup (Critical Lesson Learned)
I never work on original files anymore.
I once applied heavy AI denoising and overwrote the file. The result was unusable, and I had no backup. That mistake cost me a full day of re editing.
Now I:
Duplicate files
Store originals on an external drive
Work only on copies
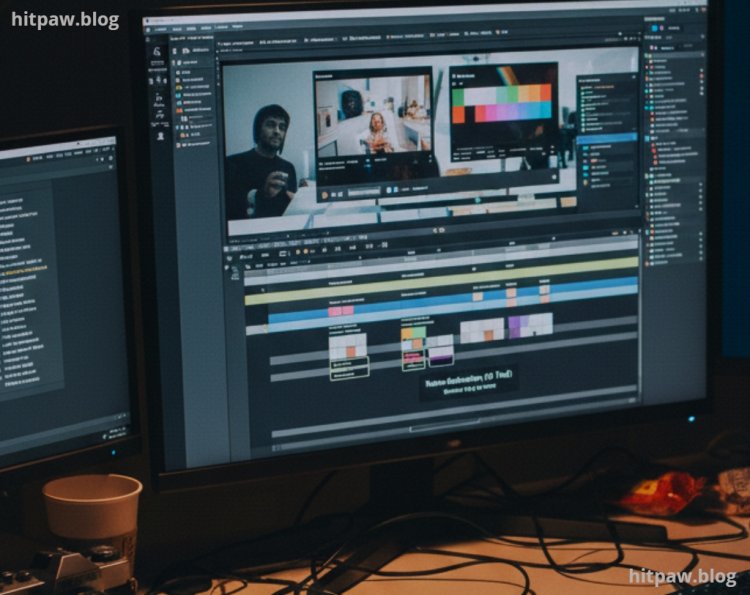
Step 3: Apply AI Noise Reduction First (Before Color Grading)
This is important.
I learned that applying noise reduction after color grading makes noise worse. AI tools work best on flat, ungraded footage.
So my order is:
Noise reduction
Color correction
Color grading
Final sharpening (if needed)
Step 4: Adjust AI Strength Carefully
More AI is not better.
I usually start at:
Low to medium noise reduction
Preserve detail option ON
Temporal smoothing enabled
· Then I preview frame by frame, especially faces.
Step 5: Export and Recheck on Multiple Screens
I always check:
Laptop screen
Phone
External monitor
Noise sometimes hides on small screens but appears on larger ones.
Practical Examples From Real Projects
Example 1: YouTube Talking Head Video
Shot at ISO 1600
Indoor lighting
Grain visible on skin
AI reduced noise while keeping skin texture natural. Traditional tools made the face look plastic.
Example 2: Old Client Footage
Low resolution
Heavy compression
Dark background
AI helped reduce crawling noise, but I learned not to expect miracles. Some damage is permanent.
What I Got Wrong the First Time (And How I Fixed It)
Mistake 1: Over Denoising
I pushed AI settings too far. The video looked smooth but fake.
Fix: I reduced strength and accepted a little grain. Natural grain is better than fake smoothness.
Mistake 2: Ignoring Motion Artifacts
Fast movement caused smearing.
Fix: Lower temporal smoothing and preview motion scenes carefully.
Mistake 3: Fixing Noise Too Late
Noise reduction after color grading amplified problems.
Fix: Always denoise first.
Real Feedback From My Own Experience
After switching to AI noise reduction:
My YouTube retention improved
Client revisions reduced
Videos looked more professional
Export time increased but quality was worth it
Clients rarely say “nice noise reduction,” but they feel the difference.
When AI Noise Reduction Works Best (And When It Doesn’t)
Works Best When:
Noise is consistent
Footage has enough detail
Motion is not too fast
Struggles When:
Footage is extremely compressed
Noise is mixed with motion blur
Resolution is very low
AI is powerful, not magic.
Tip (From Real Experience)
Perfectly clean footage often looks unnatural. A touch of grain keeps video cinematic and believable.
Final Advice: What I’d Tell My Past Self
If I could go back, I’d tell myself this:
Clean video doesn’t come from expensive cameras alone. It comes from understanding how noise works and using the right tools the right way.
AI noise reduction didn’t replace skill it enhanced it. When used carefully, it turns unusable footage into professional looking video without destroying detail.
FAQs
1. Does AI noise reduction remove all grain?
No. And it shouldn’t. Some grain is natural and good.
2. Is AI better than manual noise reduction?
In most real projects, yes especially for video.
3. Can AI fix very bad footage?
It can improve it, not magically repair it.
4. Should beginners use AI tools?
Yes, but with restraint. Overuse ruins footage.
5. Does AI noise reduction affect export time?
Yes. Expect longer rendering, especially on weaker systems.
6. Is AI noise reduction safe for AdSense content?
Yes, as long as the content is original and high quality.
What's Your Reaction?